Configure Database Worker
If you are unable to generate reports then upgrade the .net framework to v4.7
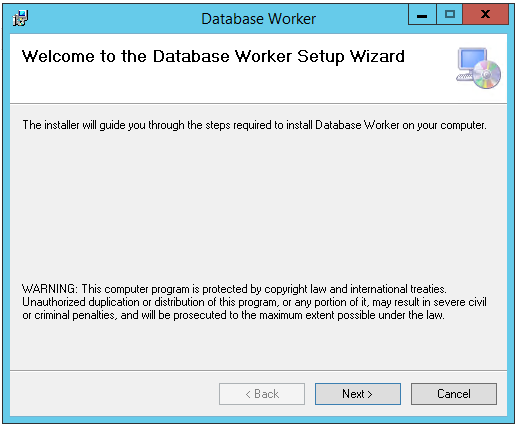
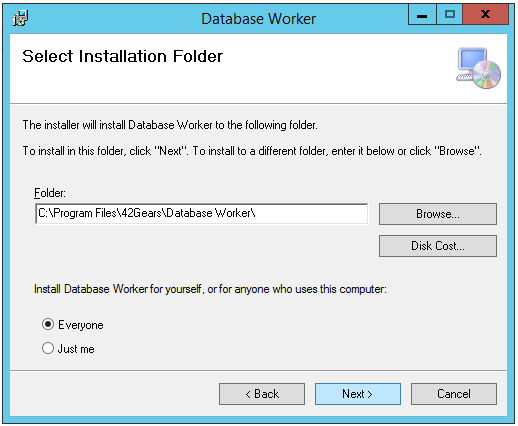
To install and configure Database Worker, follow these steps:
1. Install Database Worker from downloaded package.
2. Click Install Now and click Next.
3. Browse for the location to install Database Worker and click Next.
By default, the location will be C:\Program Files (x86)\Default Company Name\ServiceInstaller\.
4. Click Next.
Database Worker will launch as shortcut in the desktop.
5. On the SureMDM Database Worker screen, go to Dashboard and you will be able to see the application running status:
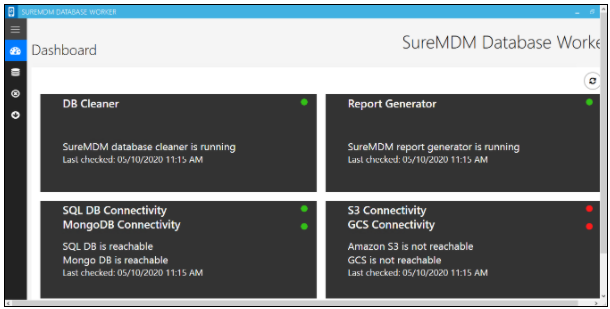
![]() - Green Indicator suggests that the respective applications are running.
- Green Indicator suggests that the respective applications are running.
![]() - Red Indicator suggests that the respective applications are not running.
- Red Indicator suggests that the respective applications are not running.
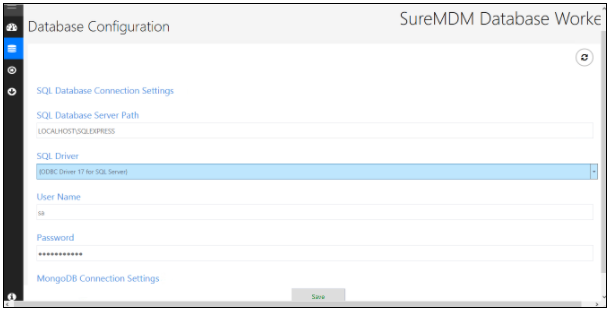
6. Go to Database Configuration screen, enter the details as shown in the screenshot below.
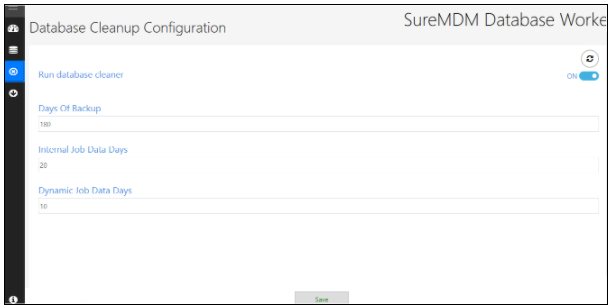
6. Go to Database Cleanup Configuration and configure the following details based on the requirement:
Run database Cleaner - Toggle ON to initiate the database cleanup activity
Days of Backup - Enter the numeric value (in days)
The data beyond specified number of days will get deleted.
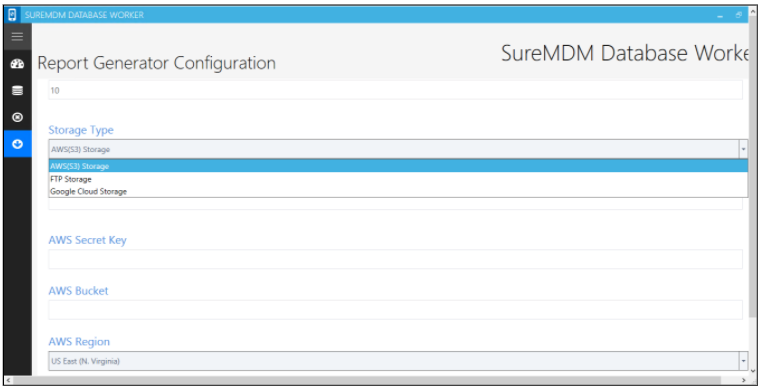
7. Go to Report Generator Configuration and select a Storage Type from the following options and configure the settings:
8. Click Save.
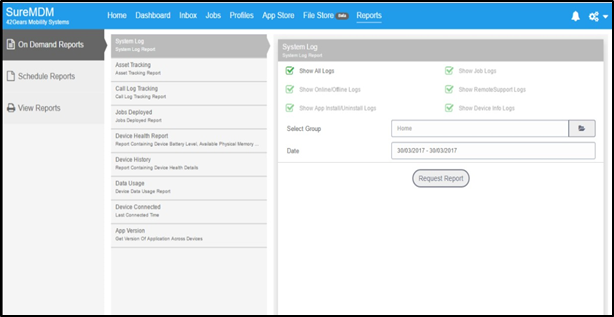
Once Report Generator is configured, reports sections will be shown as in the following screen. You will have an option to schedule reports.
When the build is upgraded to the latest version, uninstall the Old DB worker.