Configure Nix AD Authentication
Add a new Client ID
To add a new Client ID, follow these steps:
1. Login to the server where Active Directory is configured.
2. Open Windows PowerShell.
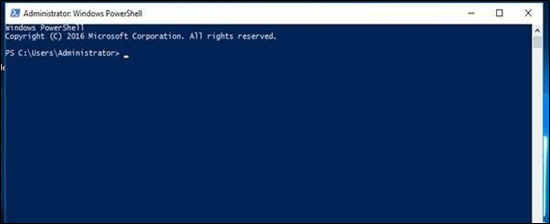
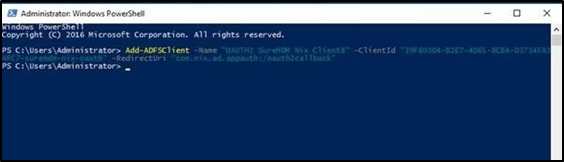
3. Run the below command in Windows PowerShell:
To add a new client
Add-ADFSClient -Name "OAUTH2 SureMDM Nix Client8" -ClientId "39F803D4-B2E7-4D65-8CBA-03734FA3AFC7-suremdm-nix-oauth" – RedirectUri "com.nix.ad.appauth:/oauth2callback"
Values to enter for the above command:Name "OAUTH2 SureMDM Nix Client8"
Name Should be unique. You can change it to "OAUTH2 SureMDM Nix Client2", "OAUTH2 SureMDM Nix Client3" and so on, if required.ClientId "39F803D4-B2E7-4D65-8CBA-03734FA3AFC7-suremdm-nix-oauth"
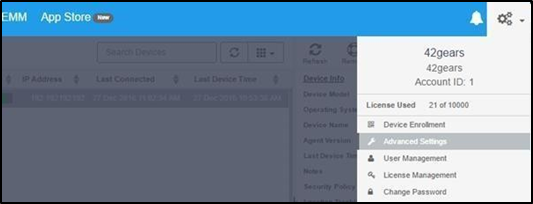
Retrieve Client ID
To retrieve the client ID, follow these steps:
- Login to SureMDM Web Console.
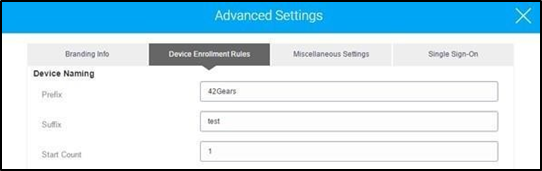
2. Click Settings at the top right of the console and select Advanced Settings.
3. On the Advanced Settings prompt, click Device Enrollment Rules tab.
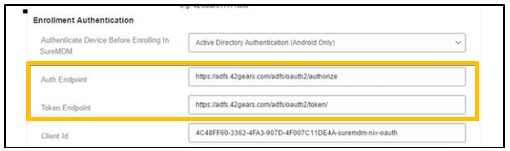
Get Auth End Point and Token End Points
To get Auth End Point and Token End points, follow these steps:
1. Go to AD Server machine.
2. Access AD FS 2.0 Management Console (Windows Start Menu > All Programs > Administrative Tools > AD FS 2.0 Management).
3. In AD FS 2.0 Management Console, under Services, select Endpoints.
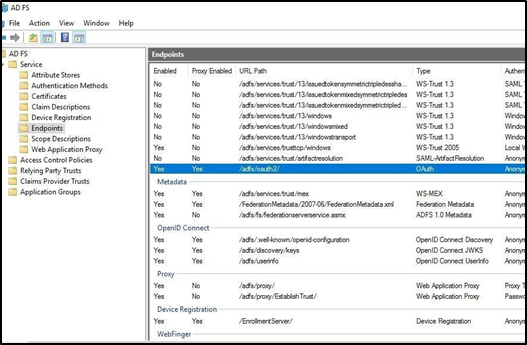
4. Select 0Auth Type and the URL Path as /adfs/oauth2/
From the URL path, enter Auth and Token Endpoint as:
Auth Endpoint: https://<ADFSURL>/adfs/oauth2/authorize
Token End point:https://<ADFSURL>/adfs/oauth2/token