Enable Windows Store for Business using Azure AD Enrollment for Windows devices
To enable Windows Store for Business using Azure AD Enrollment, follow these steps:
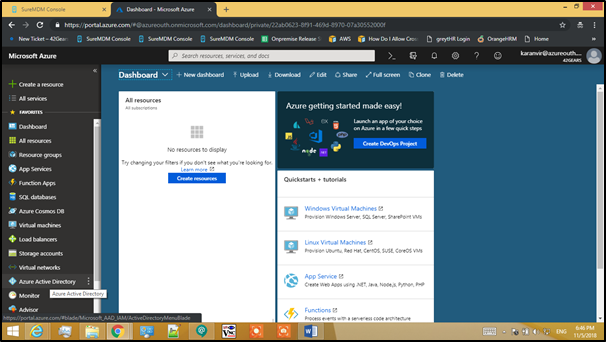
1. Login to portal.azure.com.
2. Click Azure Active Directory.
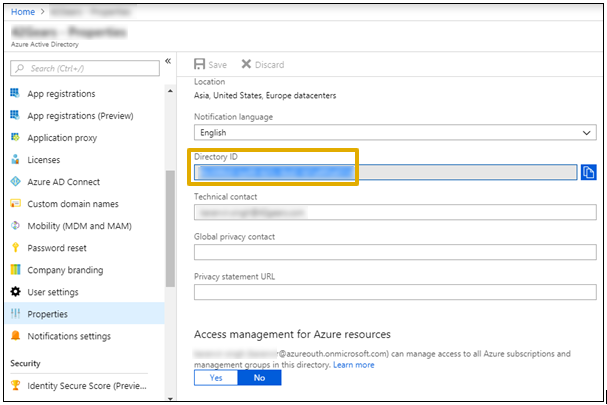
3. Click Properties and copy the Directory ID.
4. Login to SureMDM Console > Settings > Account Settings .
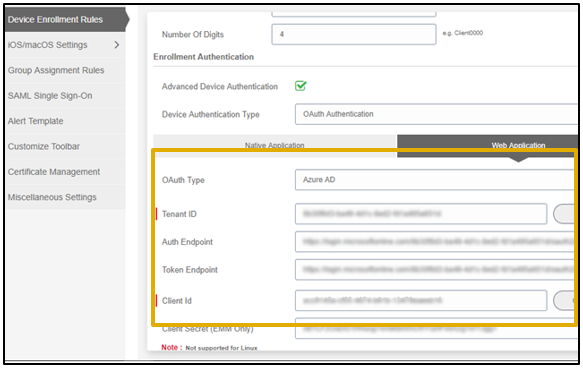
5. Select Advanced Device Authentication and under Enrollment Authentication, select OAuth Authentication from Device Authentication Type drop-down list.

6. In Web Application, select Azure AD from OAuth Type drop-down list and in Tenant ID paste the Directory Id copied in Step 3.
7. Click Fetch.
Auth Endpoint and Token Endpoint will be generated automatically.
8. Navigate to Azure portal.
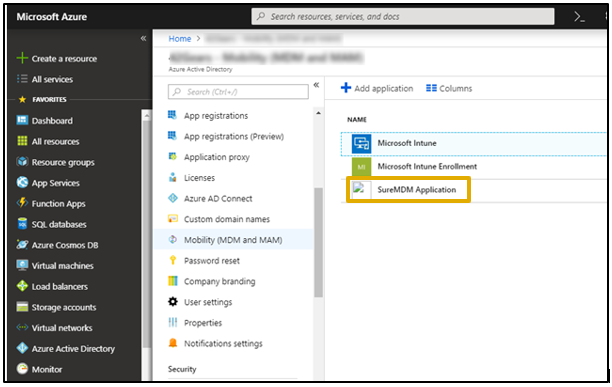
9. Click Azure Active Directory > Mobility (MDM and MAM).
a. Click Add an application >On-Premise MDM application.

b. Select SureMDM Application.
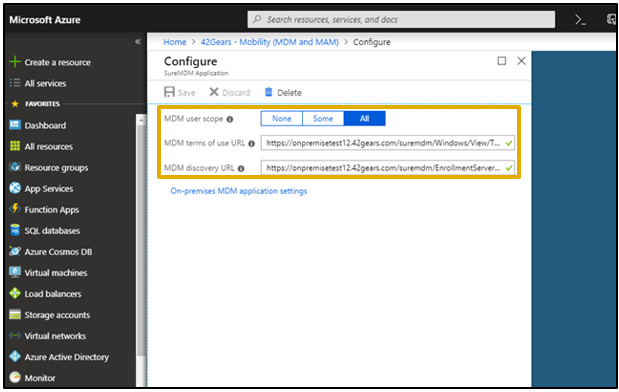
10. Enter the following details:
MDM User scope- All
MDM terms of use URL : https://onpremisetest.42gears.com/suremdm/Windows/View/TermsOfUse.aspx
MDM discovery URL : https://onpremisetest.42gears.com/suremdm/EnrollmentServer/discovery.svc
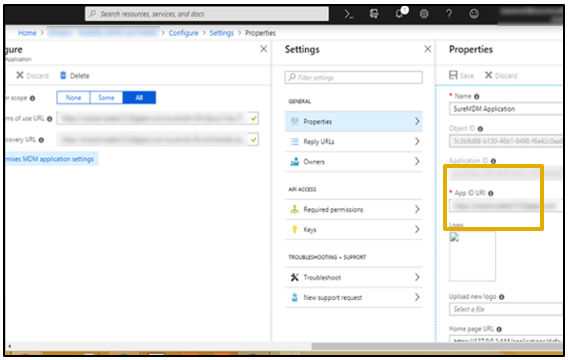
11. Click On-premises MDM Application Settings > Properties.
12. Enter console URL (https://onpremise.42gears.com) in App ID URI and copy Application ID and click Save.
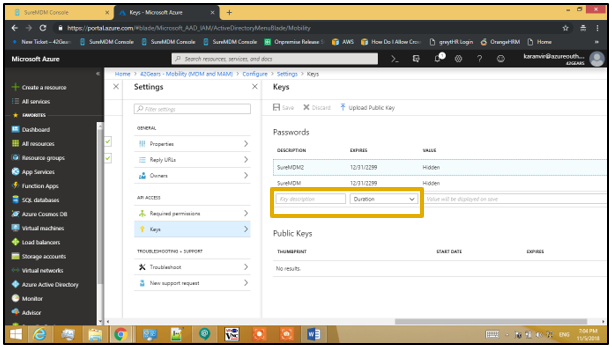
13. Click Keys. Enter Key Description and select a Duration and click Save > Save.
Copy the Key generated.
Copy and paste the generated Key in Notepad immediately. If this window is closed, generated key cannot be fetched again.
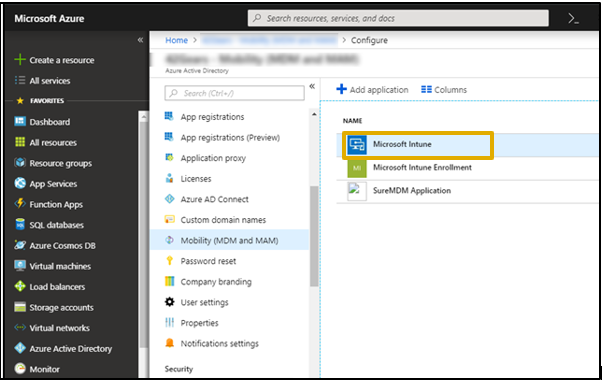
14. Navigate to Azure Active Directory > Mobility (MDM and MAM) > Microsoft Intune.
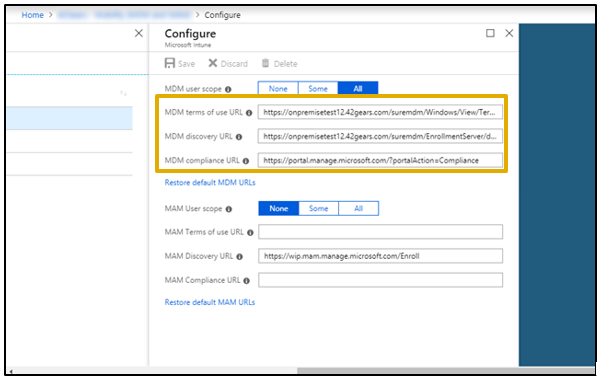
15. Enter the below details in required fields and click Save.
MDM User scope- All
MDM terms of use URL- https://onpremisetest.42gears.com/suremdm/Windows/View/TermsOfUse.aspx
MDM discovery URL- https://onpremisetest.42gears.com/suremdm/EnrollmentServer/discovery.svc
16. Go to SureMDM Console > Settings > Account Settings > Device Enrollment Rules > Oauth > Azure AD.
17. In Client Id field, paste the Application ID copied in Step No.12.
18. In Client Secret (EMM Only) field, paste the copied key value generated in Step No.13.
19. Click Apply.
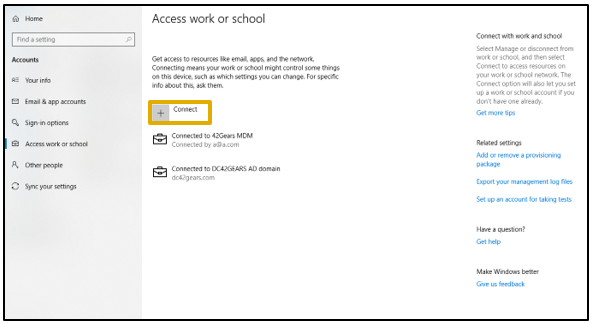
20. Go to Windows devices’ Settings > Accounts > Access work or school > Connect.
21. Enter User Name and Password.
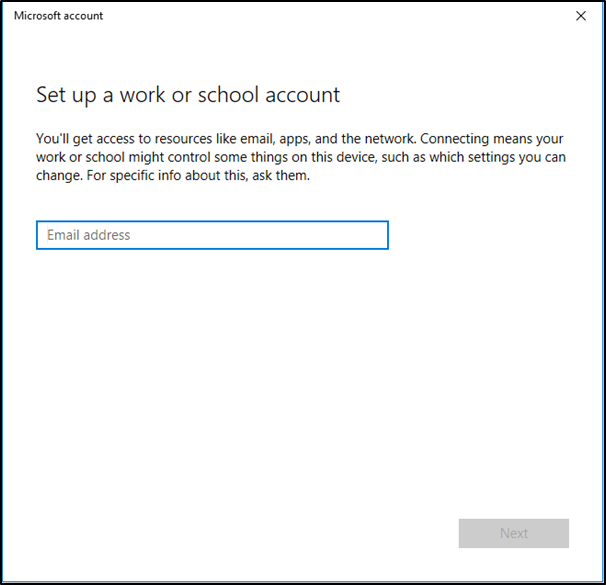
Complete the step-by-step process.
While completing the process, ignore Setting Pin option.
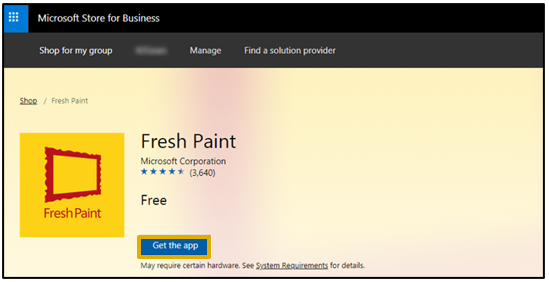
21. On the browser, type https://businessstore.microsoft.com/en-us/store/private-store in the address bar.
22. Login using Azure AD portal credentials.
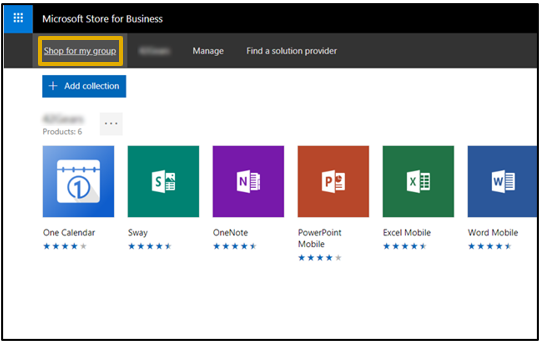
24. Select the application that you want to approve and click Get the app.
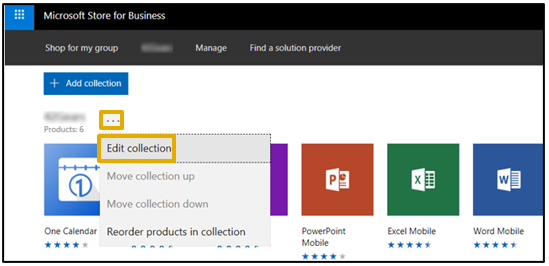
25. Right-click group’s icon ![]() and select Edit collection.
and select Edit collection.
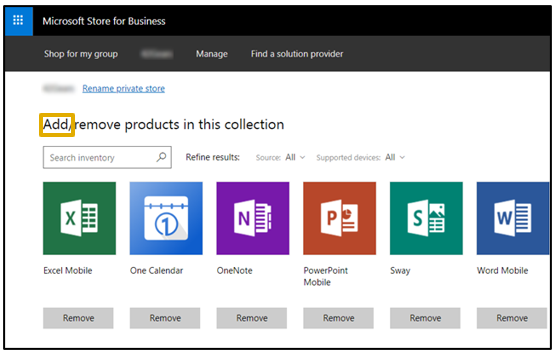
26. Click Add to add the approved application from the collection.
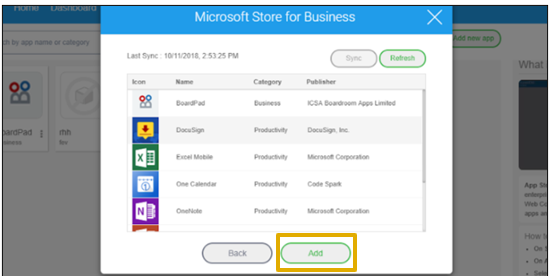
27. Go to SureMDM Console > App Store > Windows > Add new app > Microsoft Store for Business and click Sync.

28. Wait for few minutes and click Refresh.
The approved applications will be listed.
29. Select an application and click Add.
30. Go to Profiles > Windows > Add > Application Policy > Configure > Add.
31. Select the application from drop-down list
32. Save the profile and deploy it to the device.