User Enrollment
42Gears supports User Enrollment, the latest way to enroll iOS devices into an MDM solution. User Enrollment is an effective way to provide a secure end-user experience while securing and managing corporate data on BYOD devices.
Enroll iOS Devices Using Account Driven User Enrollment
Ensure that the device(s) to be enrolled is currently running iOS 13 or above, has a managed Apple ID, and are unsupervised.
Before users can enroll their personal mobile devices, you must create a .JSON file containing SureMDM enrollment information and host it on a web server. This allows Apple service discovery to identify the enrollment URL.
To enroll iOS Devices Using Account Driven User Enrollment follow below steps:
Prerequisites
- Account-Driven User Enrollment is supported on iOS 15 or later, and iPadOS 15 or later.
- Managed Apple IDs.
- The .JSON file with enrollment information must be hosted on a web server.
Configuring SureMDM for Account-Driven User Enrollment
For Apple discovery to work during Enrollment, enrollment information must be in a .JSON file, hosted on a web server which should be accessible for devices to enroll. If you already have verified domain hosting files, use that location. Otherwise, set up a web server with the same fully qualified domain name (FQDN) as the verified domain of the Managed Apple ID and enable web services.
Key Considerations for Web Server Setup:
The .JSON file must be on a server that supports HTTPS GET requests. The SSL certificate for the server must come from a trusted certificate authority. For a list of trusted root certificates on iOS devices, see Apple's support website.
Creating JSON file
To authenticate a device with the SureMDM server, the following information must be included in the .JSON file:
BaseURL — This is the full URL for the SureMDM server followed by “ servicediscoveryenrollment/v1/userenroll”.
- You can get the BaseURL in JSON format from this path in Console: SureMDM Web Console > Settings > Apple Platform Management > Miscellaneous > General Configuration > JSON for Account Driven User Enrollment > Download / Copy
Version — This is the enrollment version.
Hosting SureMDM Enrollment Information on a Web Server
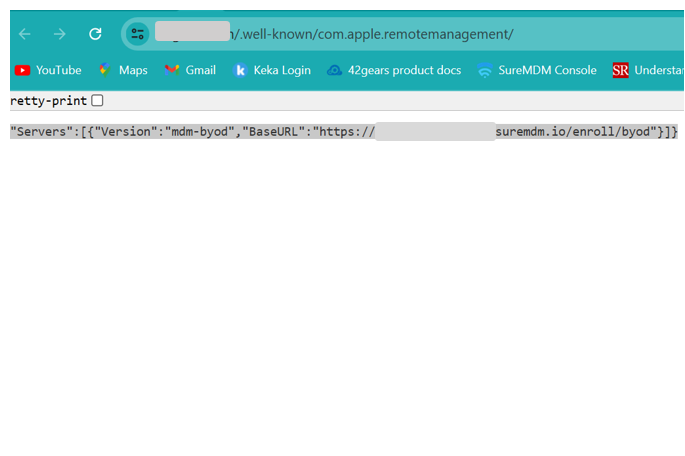
You should host the SureMDM enrollment information on a web server, specifying the server path and verified domain. The resulting URL should be as follows: https://company.com/.well-known/com.apple.remotemanagement
You must configure the server to return the appropriate Content-Type header with the file which should be 'application/json.
In the above example, "company.com" should be replaced with your domain that employees sign into during enrollment. To verify the configuration, open the modified URL in a browser. The response should be an XML page with the Base URL referring to your SureMDM FQDN.
Steps for Device Enrollment
Follow these steps to enroll a personal device using the streamlined User Enrollment process in iOS 15 and iPadOS 15 or later:
- On the device, navigate to Settings > General > VPN & Device Management.

- Tap the Sign In to Work or School Account button.
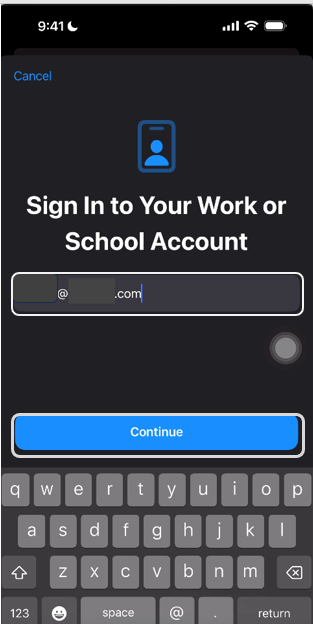
- Enter your Managed Apple ID. Service discovery will automatically identify the MDM solution’s enrollment URL.
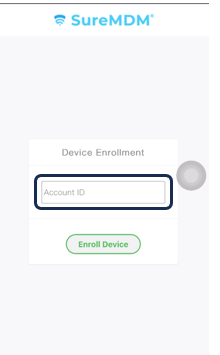
- Enter your organization's Account ID and click Enroll Device.
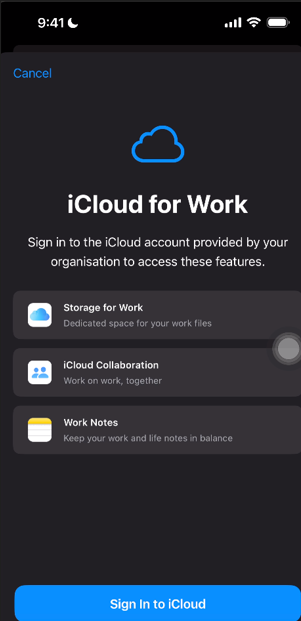
- A prompt from the iCloud for Work screen appears. Click Sign in to iCloud.
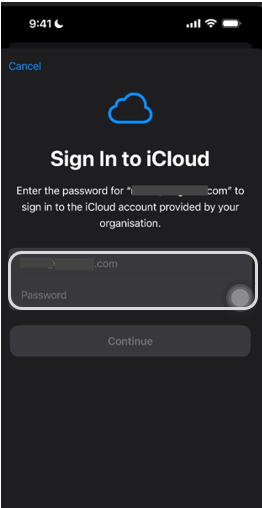
Enter the Password for the managed Apple ID and click Continue.
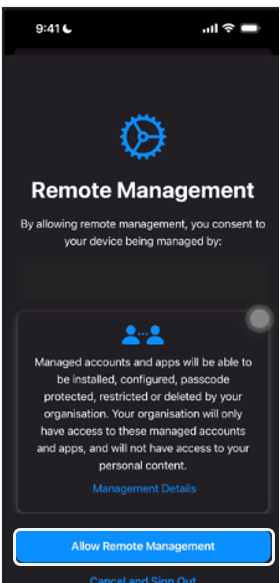
Click Allow Remote Management. The device will be enrolled using the user enrollment type.
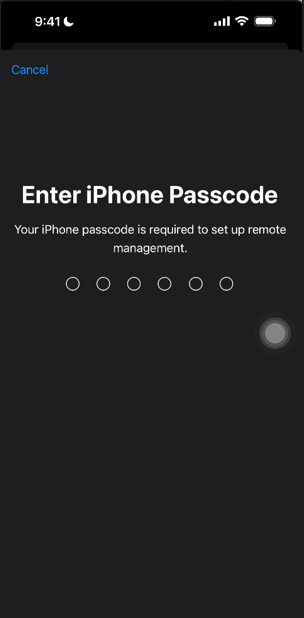
- If the device has a password, the user must authenticate to allow remote management. It may take a few minutes to authenticate.
- To validate user enrollment, the user can navigate to Settings > General > VPN & Device Management > Managed Account.
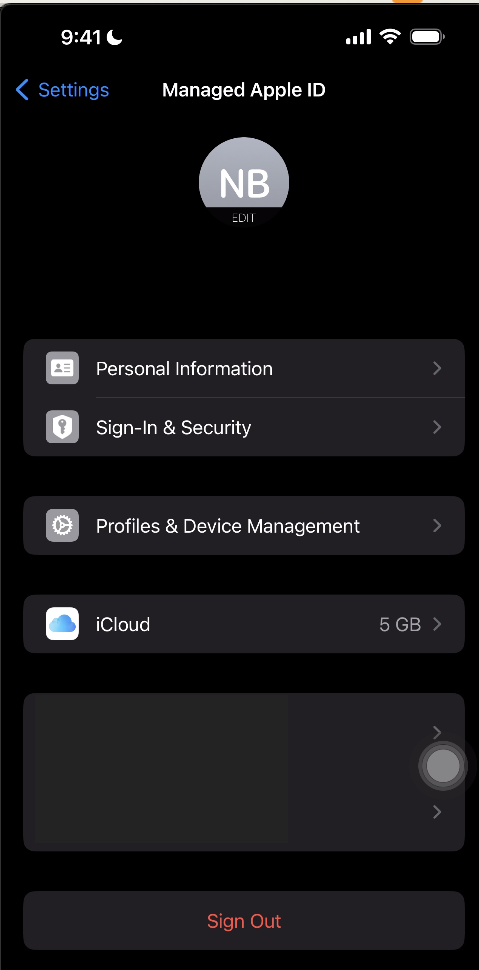
By following these steps, users can easily enroll their personal devices while ensuring that personal and organizational data remain separate and secure.
Enroll iOS Devices Using Profile Driven User Enrollment with Pre-approved Template
Ensure that the device(s) to be enrolled is currently running from iOS 13 to iOS 17, has a managed Apple ID, and are unsupervised. For the device(s) with iOS 18 or later, please use Account Driven User Enrollment as this enrollment method is deprecated.
1. Navigate to the SureMDM Web Console.
2. Go to the Preapproved section and click Download Preapprove Template.
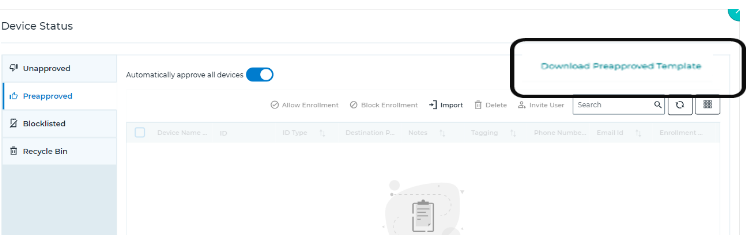
Upon clicking on it, the template gets downloaded into your local drive.
3. Browse and open the template from your local drive. And enter the required details in the template as specified in the below format:
Device Name*=xxx ,Hardware Address* =Apple Id ,Hardware Address Type* = AppleID ,Group Path* =xxx , Device Notes= xxx , Device Tag = xxx ,Phone Number* =xxx ,Email Id* = xxx

- Save the template in .CSV format in the system.
4. Go back to the Preapproved section and click Import.
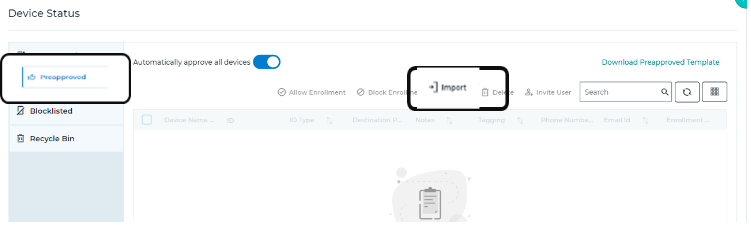
5. Browse to select the template file saved in the local system.
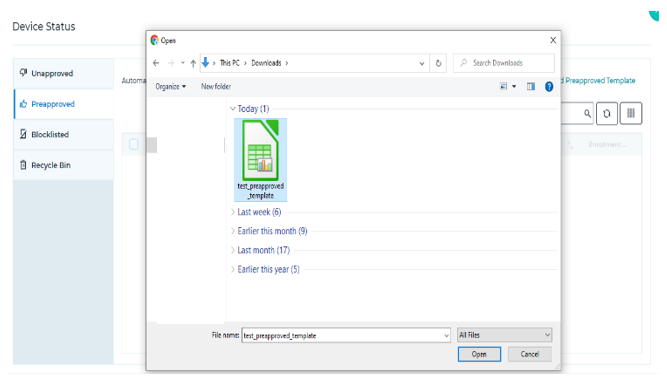
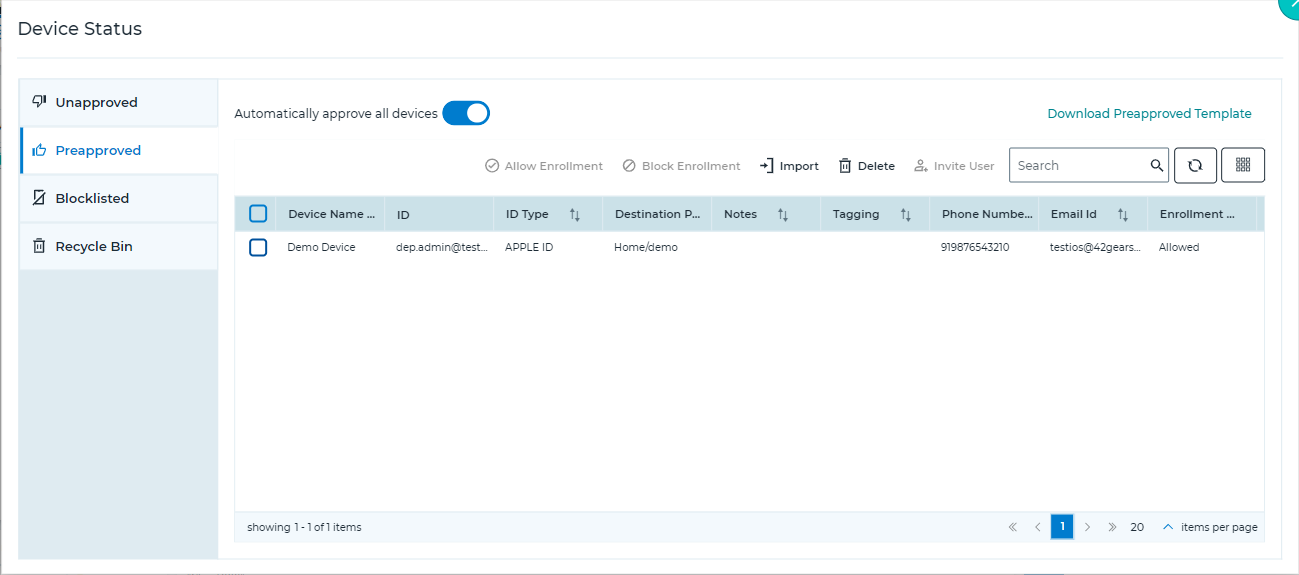
The details added in the template will be listed under the Preapproved section.
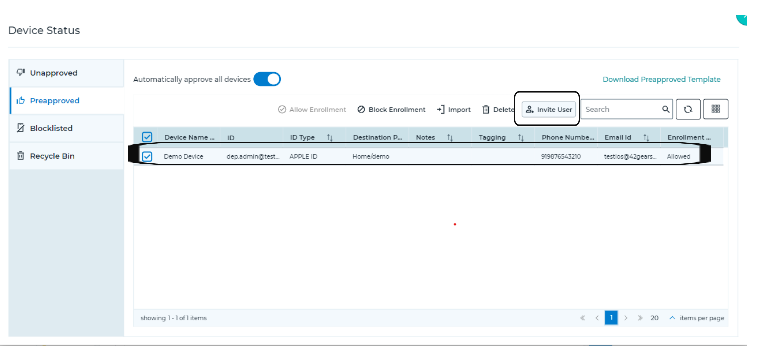
6. Select a device and click Invite User.
7. Select Invite User By Email or Invite User By SMS and click OK.
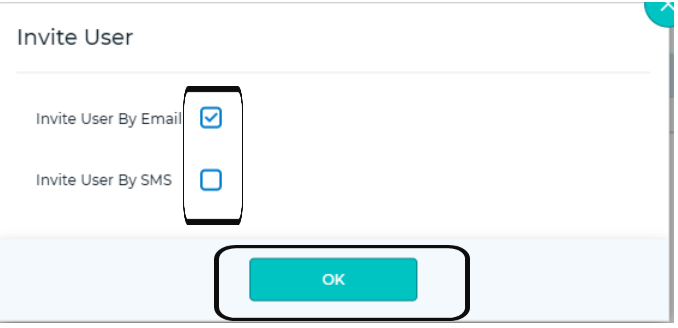
The user will receive a link via email or SMS as per the selected option.
8. On the device, tap on the link sent by the MDM server via email/SMS.
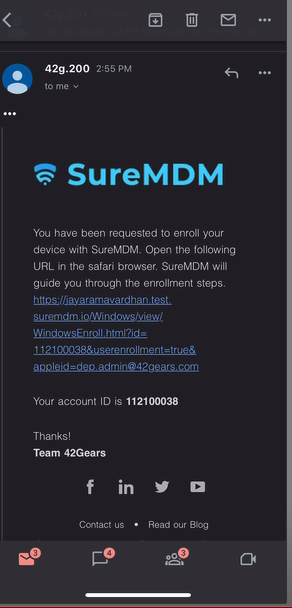
The link will download the enrollment profile.
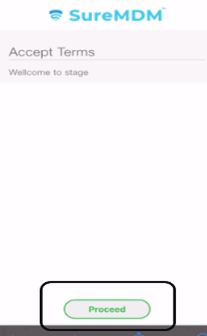
9. After clicking on the link, you will be prompted to provide consent to Accept the Terms. Click Proceed.
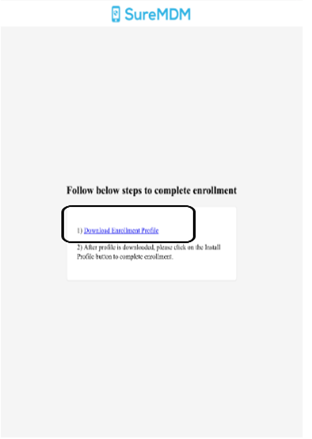
10. Tap Download Enrollment Profile.
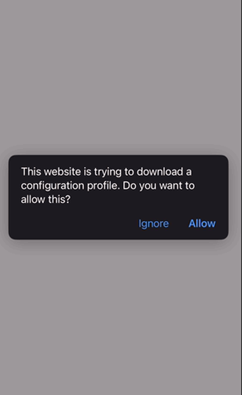
11. After clicking Download Enrollment Profile, you will be prompted to provide consent to Accept the Terms. Click Allow.
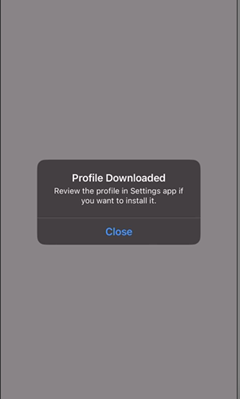
12. The Profile gets downloaded. Click Close.
11. Once the profile is downloaded, navigate to the device’s Settings > General > VPN \& Device Management.
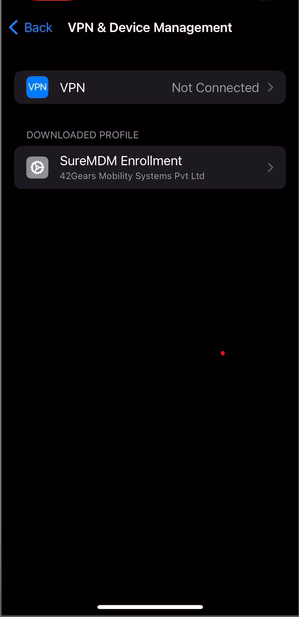
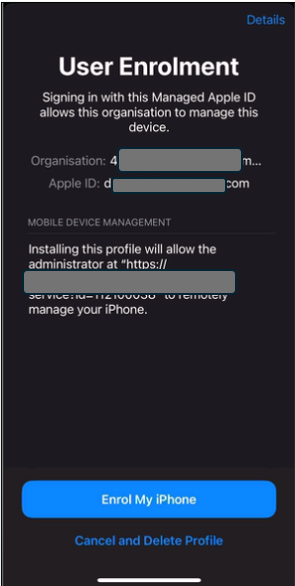
12. Access the Profile and on the User Enrollment prompt, tap Enroll my iPhone / Enrol my ipad (as per the device).
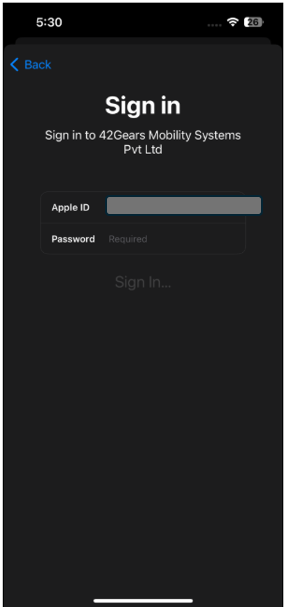
13. Sign-in with Managed Apple ID credentials.
SureMDM Agent will get installed on the device if only VPP with the SureMDM Agent app is available on the console. To learn how to upload a VPP token, click here*.
14. After successfully signing in with Apple ID credentials, SureMDM Agent will be installed on the device automatically.
iOS/iPadOS User Enrollment supported profiles in SureMDM
Admins can create the following profiles and apply them to the iOS devices that are enrolled through User Enrollment:
App Management
When iOS devices are enrolled through User Enrollment, admins cannot view or manage apps that the user has installed. On these devices, administrators can only manage enterprise apps.
To create an enterprise App Store and configure applications remotely on the enrolled iOS device, follow these steps.
1. Navigate to the SureMDM Web Console > App Store > iOS > Add new app.
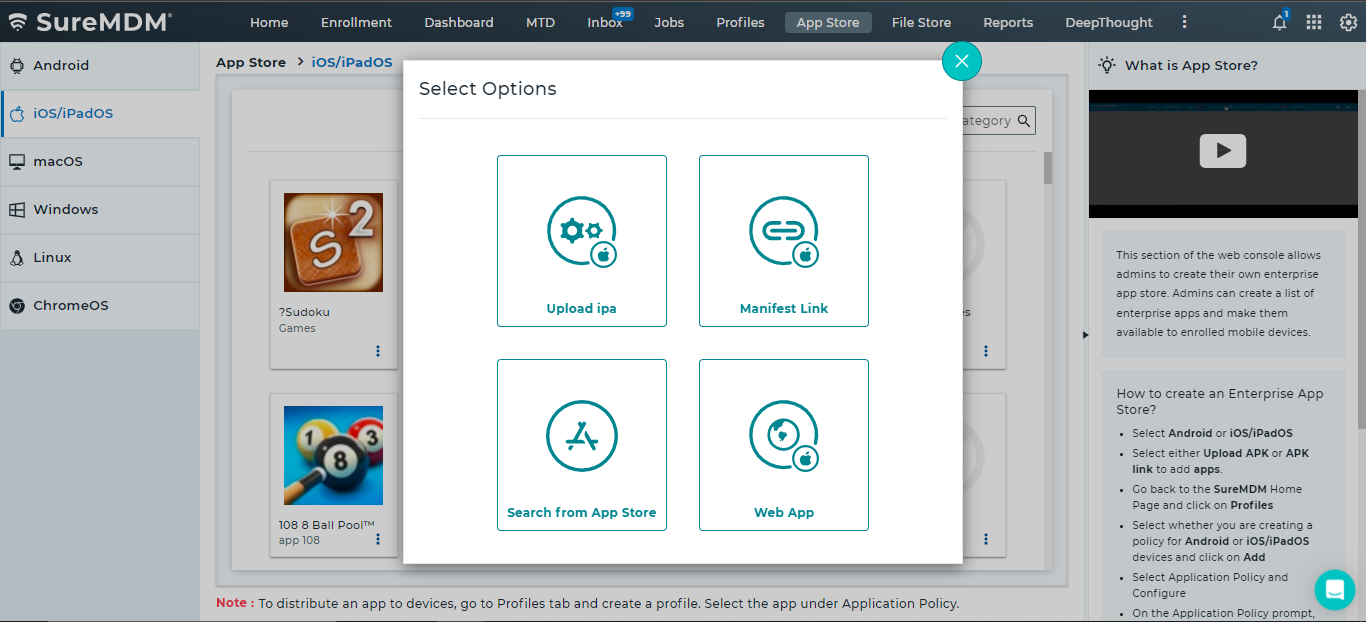
2. In the Select Options prompt, select the desired option from the following to add the application:
Upload ipa
Manifest link
Search from App Store
Web App
Search from the App Store option is not supported for User Enrollment.
Once the app is successfully added, the application will start reflecting in the App Store screen.
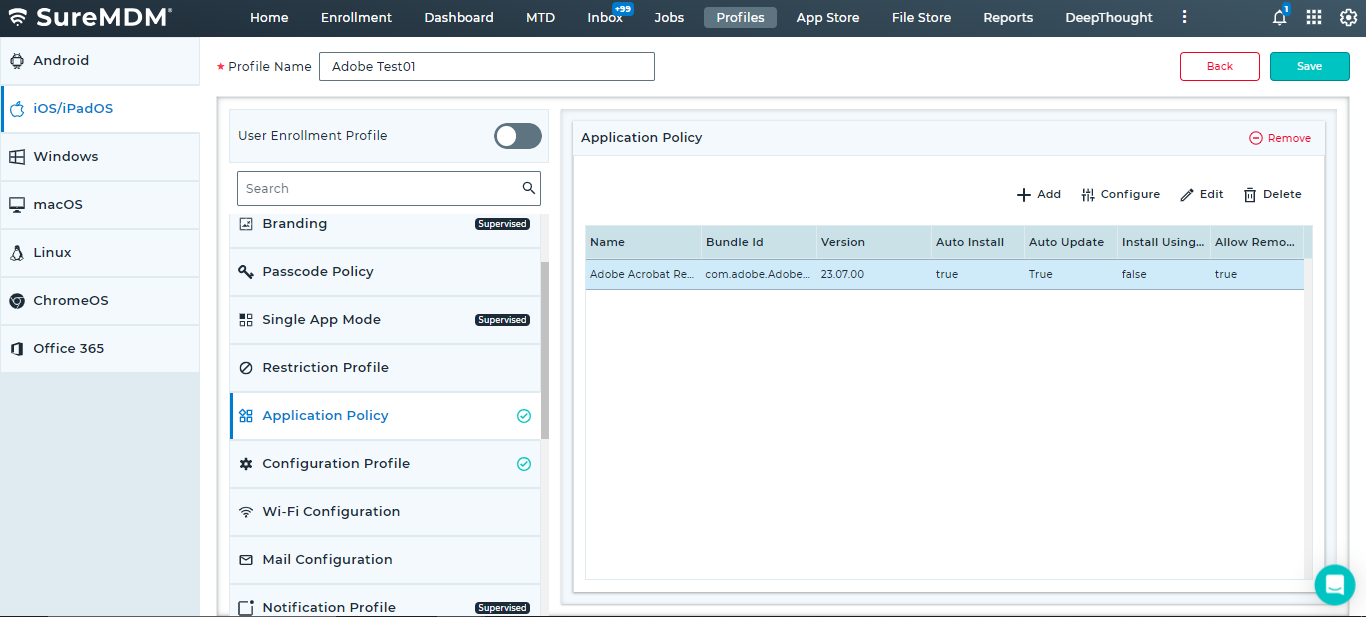
3. Go to Profiles > iOS > Add > Application Policy > Configure.
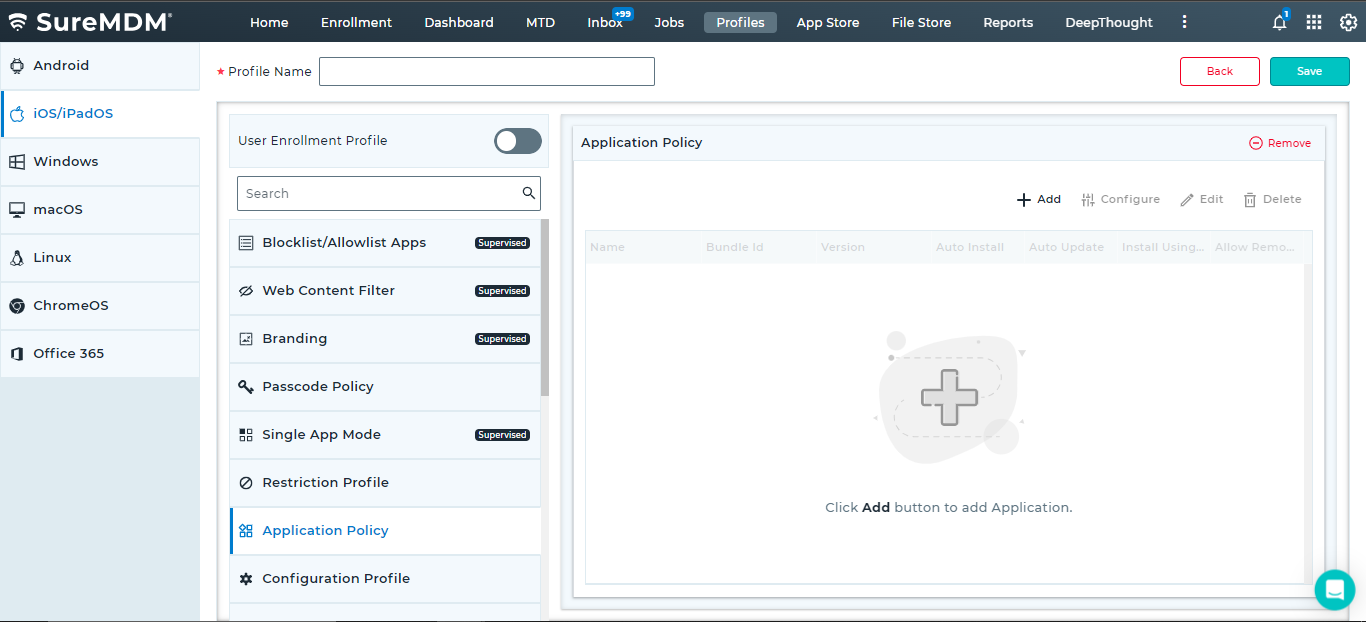
4. Enter a Profile Name.
5. In the Add App prompt, choose the App Name from the drop-down menu.
Repeat step no.2 for more applications to list in App Name drop-down menu.
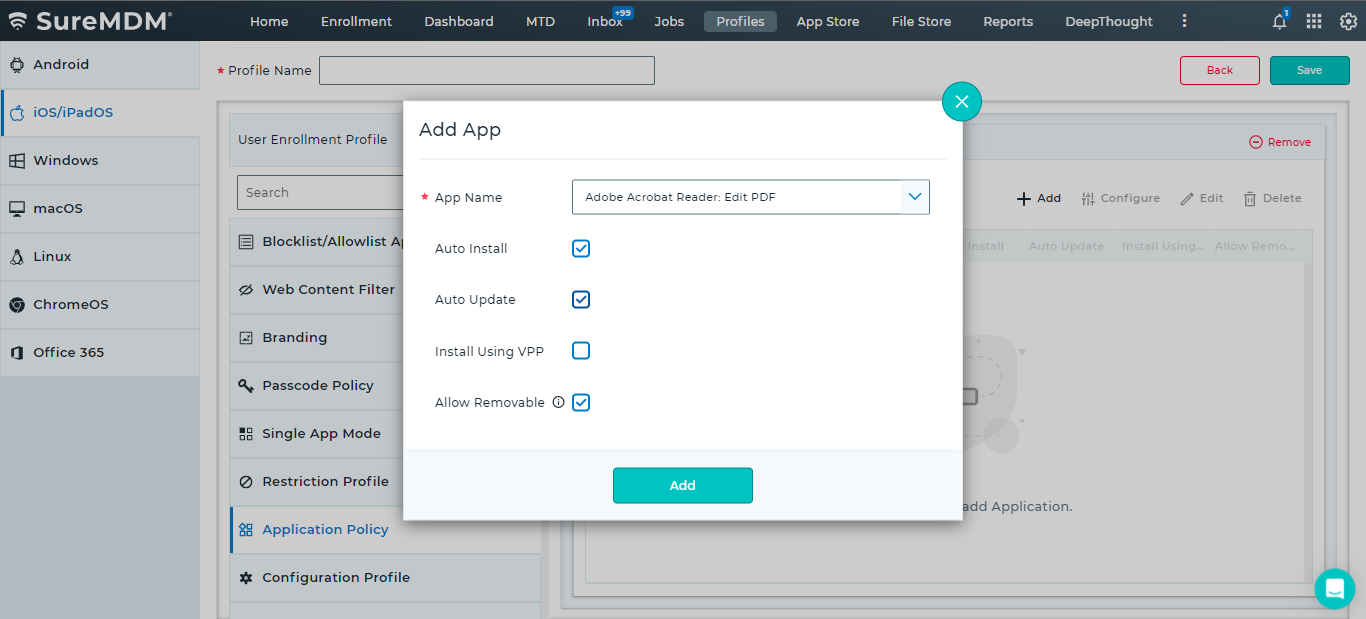
6. Select Auto Install and click Add.
The application will be listed in the Application Policy section.
7. Select an application and click Config to set up the app's managed configuration.
8. In the Application Configuration prompt, click Add and enter the following details:
- Key
- Type
- Value
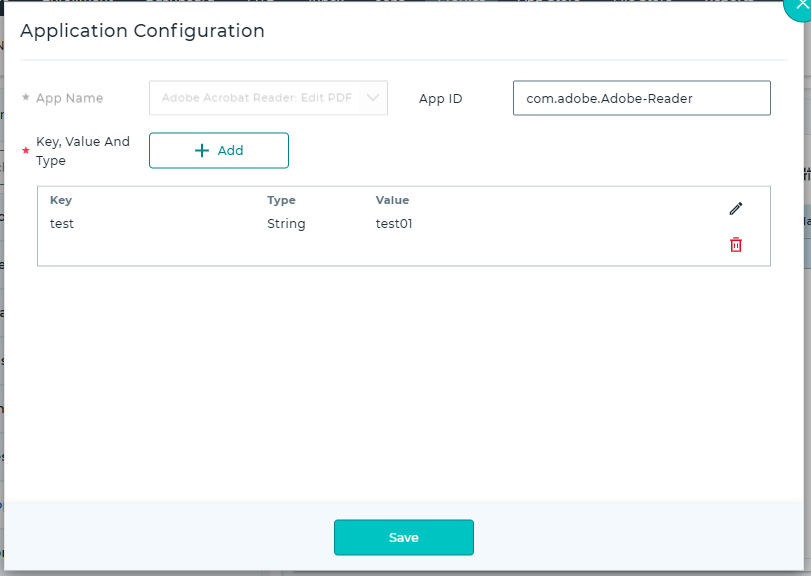
9. Click Save.
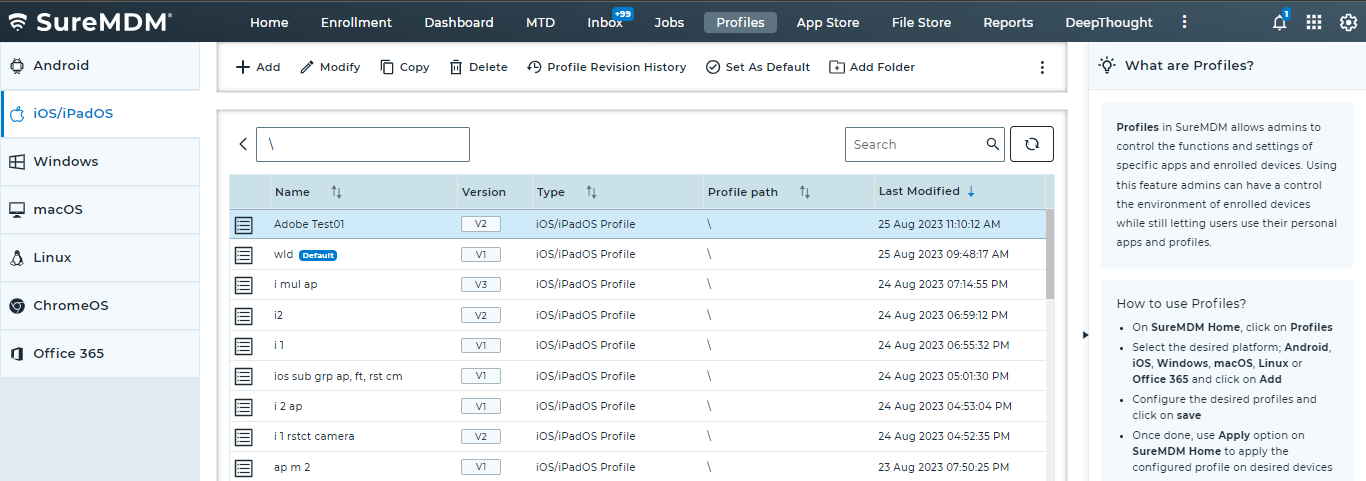
The newly created profile will be listed in the Profiles section.
10. Go back to the Home tab and select the iOS device(s) or group(s).
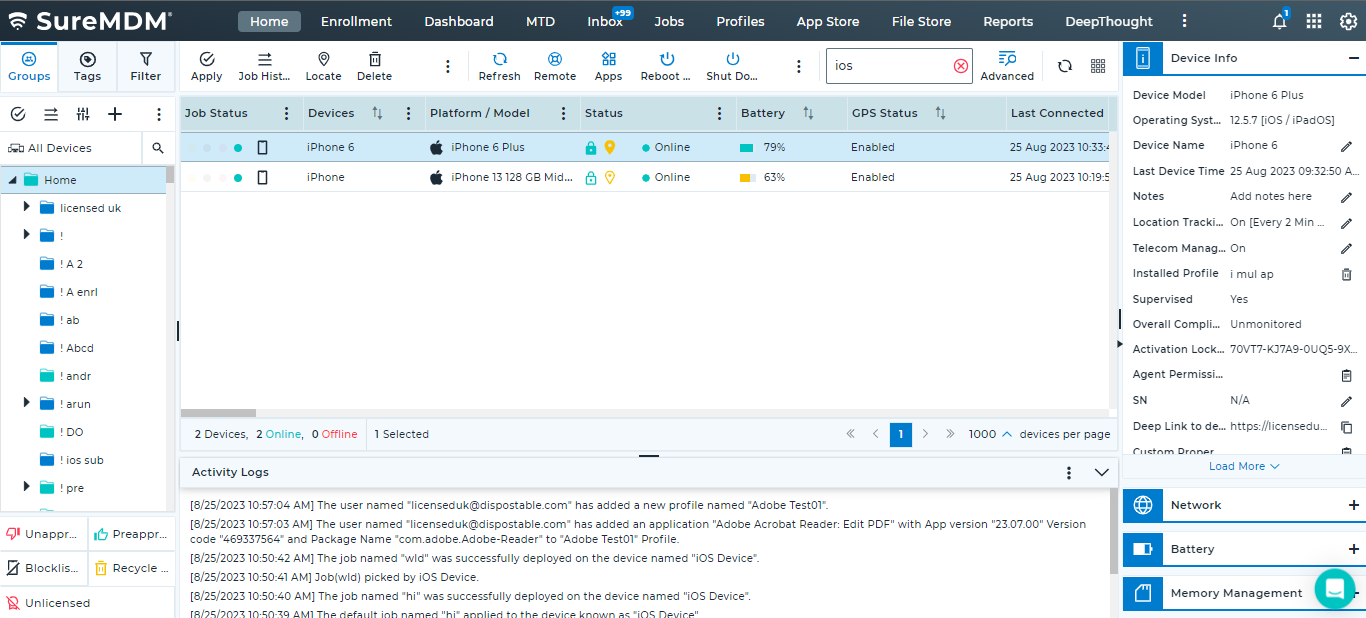
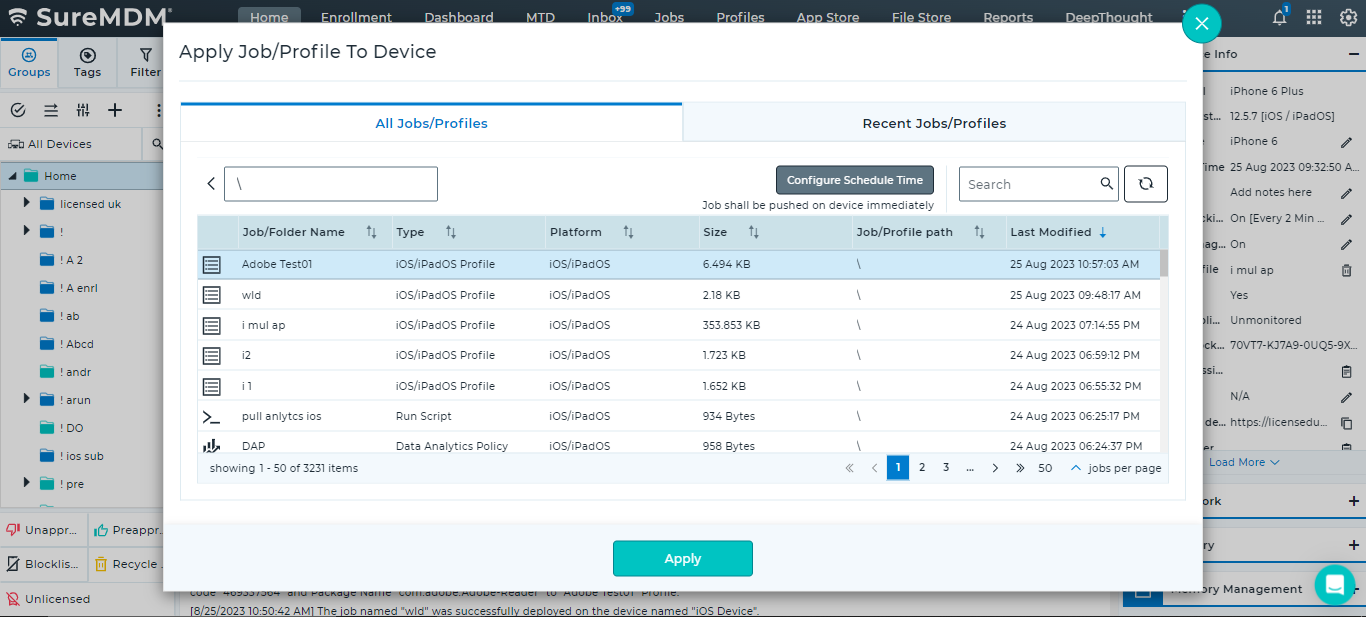
11. Click Apply to launch Apply Job/Profile To Device prompt.
12. In the Apply Job/Profile To Device prompt, select the created profile and click Apply.