Okta SSO
SureMDM's seamless integration with Okta Single Sign-On (SSO) provides your organization with a streamlined and secure authentication experience. With Okta SSO, you can leverage a centralized identity management solution that enhances user convenience and bolsters data protection. Users can access SureMDM and other connected applications using a single set of login credentials. This eliminates the need to remember multiple passwords and simplifies the login process.
Configure settings in Okta server
To configure settings on the Okta server, follow these steps:
Login to Okta Server and click Admin.
Click Add Applications > Create New App.
Select SAML 2.0 and click Create.
Enter the App Name as SureMDM.
Click Next and navigate to SAML Settings, enter the following details:
Entity ID: urn:42gears:suremdm:SAML2ServiceProvider
Single sign on URL: https:// (SureMDM Server Path)/console/ssoconsumer/(Encrypted MDM Account ID)
Admin should enter their SureMDM Server Path and Account ID into the above-mentioned URL. To get the encrypted account ID, follow these steps:
Navigate to the SureMDM Console > Account Settings > Enterprise Integrations > SAML Single Sign-On.
On the SAML Single Sign-On screen, locate the Assertion URL to get the Encrypted Account ID.
Click Next.
Select the first option I'm an Okta customer adding an internal app and click Finish.
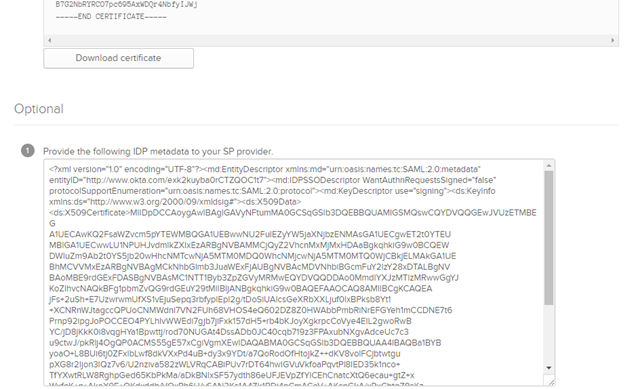
Click View Setup instructions.
Download the certificate and copy SAML Metadata from View Setup Instructions link.
A certificate will download.

Configure settings in SureMDM Console (Okta)
Navigate to SureMDM Web Console > Settings (icon located at the top right of the screen) > Account Settings > Enterprise Integrations > SAML Single Sign-On.
Configure Single Sign-On settings for PingOne.
| Settings | Description |
|---|---|
| Enable Single Sign-On | Select this option to allow configuring Single Sign-On settings. |
| Select Identity Provider (IdP) | Select Okta. |
| Service Identifier | Enter the Service Identifier. This value is present in Setup instructions tab i.e. Identity provider issuer, see step no.10, Configure settings in Okta server. For example: http://www.okta.com/exk2kuyba0rCTZQOC1t7 |
| Sign On Service Url | Enter the Sign On Service Url. This value is present in Setup instructions tab i.e. Identity Provider Single Sign-On URL,see step no.10, Configure settings in Okta server. For example: https://42gears123.okta.com/app/42gears1_suremdm_1/exk2kuyba0rCTZQOC1t7/sso/saml |
| Logout Service Url | Enter the URL for logout. For example: https://42gears123.okta.com/app/42gears1_suremdm_1/exk2kuyba0rCTZQOC1t7/slo/saml |
| Roles | Choose an option for the Roles from the drop-down menu. To know more see Configure Permissions for Role-Based Admin. |
| Device Group Set | Choose an option for Device Group Set from the drop-down menu. To know more, see Configure Permissions for Device Group Set Based Admin. |
| Jobs/Profiles Folder Set | Choose an option for Device Group Set from the drop-down menu. To know more, see Configure Permissions for Job Folder Set Based Admin. |
Copy the text value present inside X 509 Certificate and save it in a file with extension .cer.
Click Upload Certificate to Upload cer file.
Keep the password field empty. If Upload Certificate option is not visible and Download Certificate is visible instead, then delete the existing certificate and again upload the saved cer file.
- Login to Okta and use the below url to login to 42Gears UEM server.
https://42gears.suremdm.com/console/ssologin/(SureMDM Account ID)
Admin should enter their Server URL and Account ID into the above-mentioned URL.