Create a SureLock Studio Project
To create a SureLock Studio Project, follow the steps mentioned below:
1. Launch SureLock Studio.
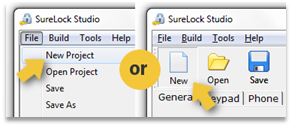
2. On Surelock Studio Console, create a new project either by clicking on:
File -> New Project or by clicking New in Quick Toolbar.
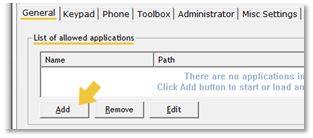
3. On General Tab, under List of allowed applications section, click Add.
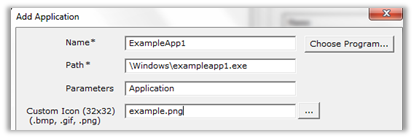
4. On Add Application prompt, enter the application details or click on Choose Program to select an application from the list of installed applications.

5. Once application is selected, Path field will auto populate.
6. Enter a Parameter if there is any.
7. Browse and select an image file if you want a custom icon for the allowed application.
8. Specify if there are any specific child windows that you would like to allow or block.
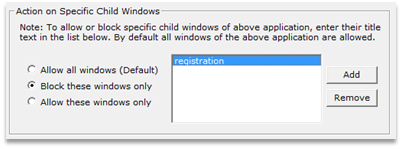
9. Click OK to complete.
10. Make desired changes under Title Bar, Kiosk Main Screen, Status Icons and other tabs.
11. Click Save.
12. Name the .psj file and save.