Install SureMDM Agent and Enroll Windows Devices
Supported Versions
- Windows 11,10, 8 and 7
To install and enroll Windows devices manually in the SureMDM account, follow these steps:
Download the SureMDM Agent application from here.
An exe file will be downloaded.
Double-click the .exe file and follow the prompts to install the SureMDM agent.
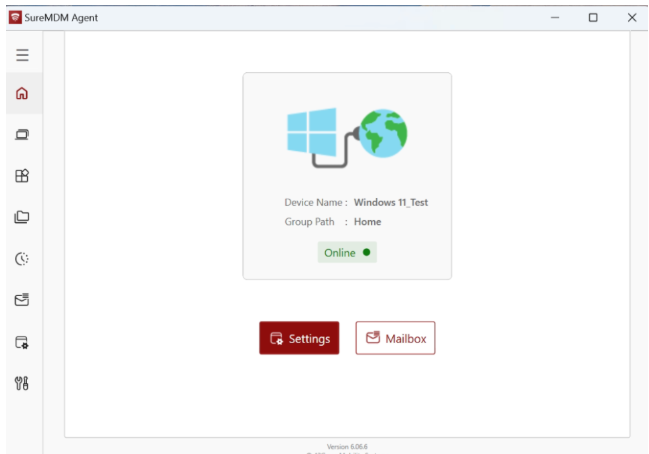
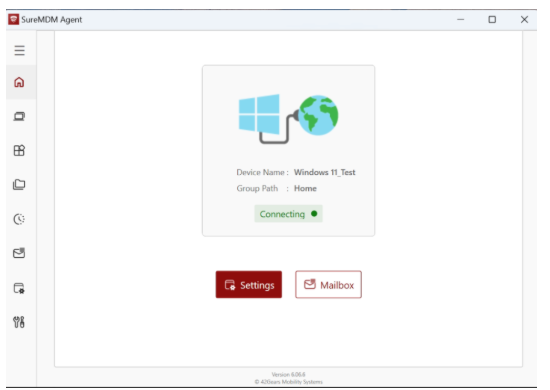
On successful installation, click the SureMDM Agent icon created on the desktop, and the SureMDM Agent home screen will appear.
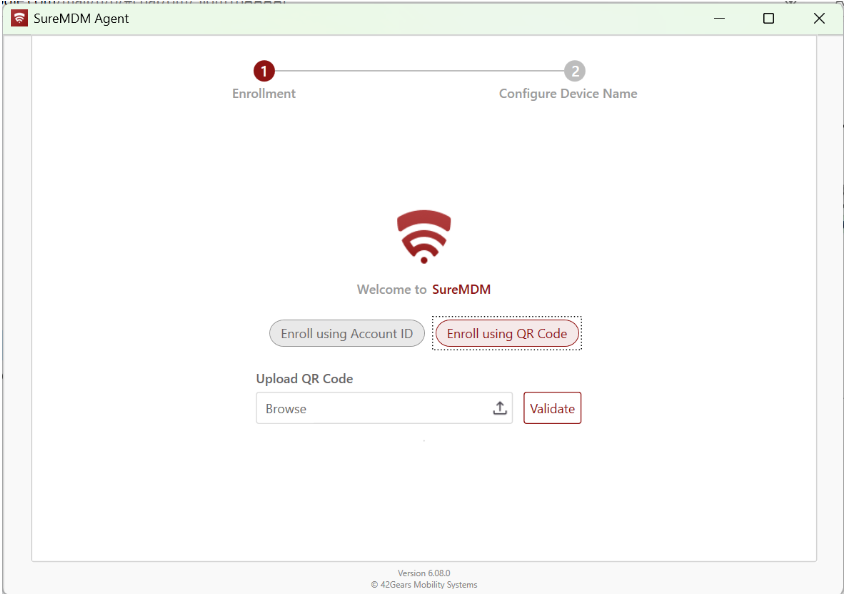
- On the SureMDM Agent home screen, you can enroll your device using either an Account ID or a QR code. Follow the steps below for each option:
Enroll using QR Code
- To enroll using QR code, click Enroll using QR Code.
- To enroll using QR Code, browse the QR code.
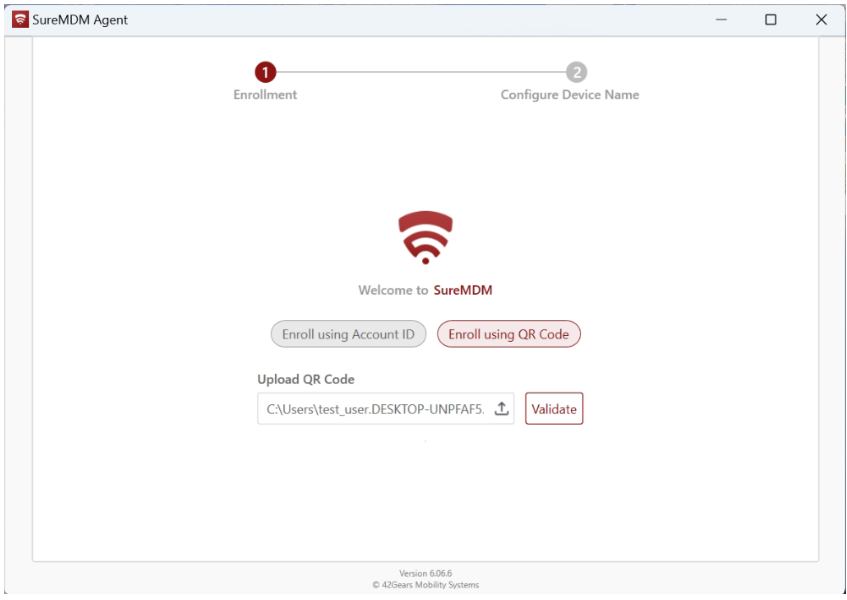
- Click Validate.
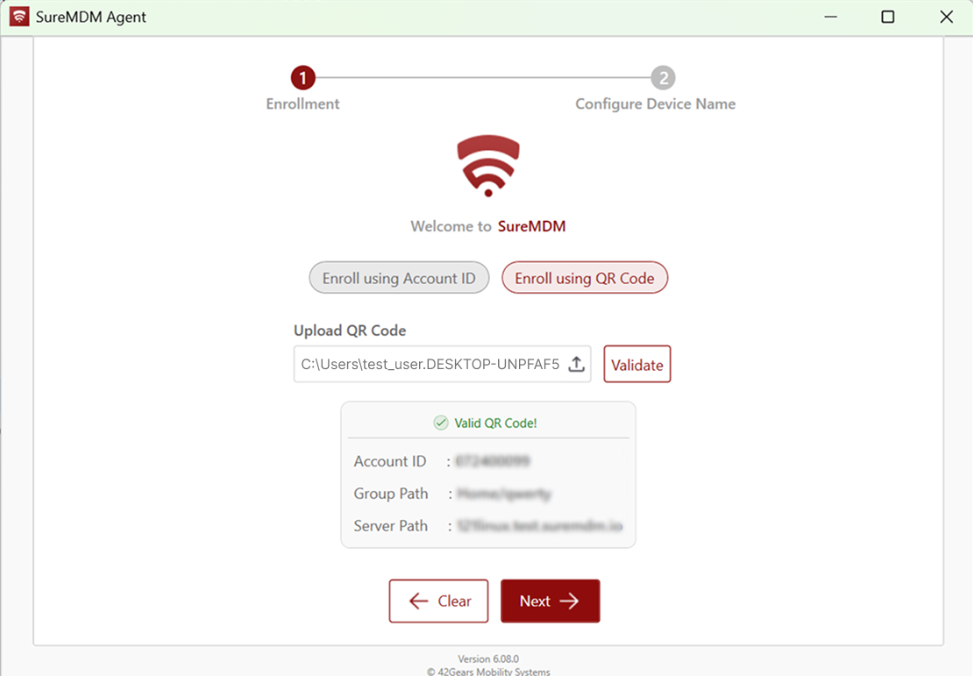
Once the QR code is validated, click Next.
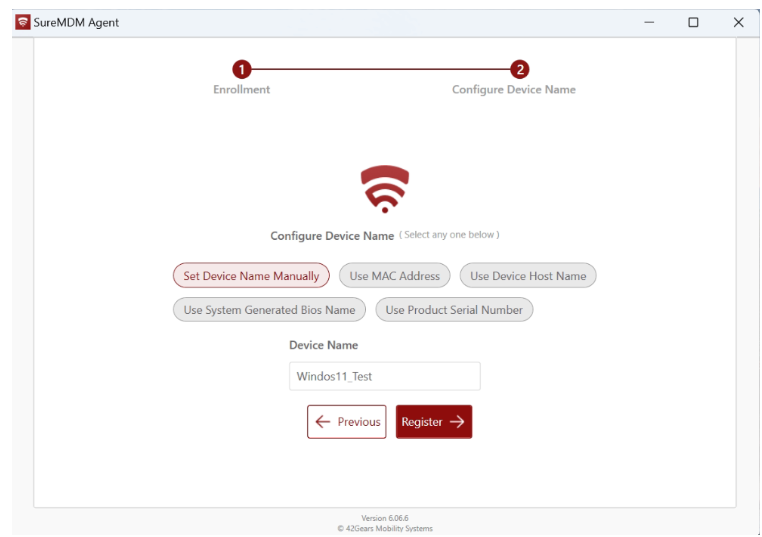
Enter the Device Name and click Register.

On the Configure Device Name screen, options such as setting the name manually, using the MAC address, hostname, BIOS name, or serial number may be available. For QR code enrollment, the option selected during QR code generation will be applied by default, and the others will be disabled. However, if you enroll using an Account ID, all options will be available, allowing you to choose any method to set the device name.
Setup is complete. SureMDM Agent has been successfully installed on your computer.
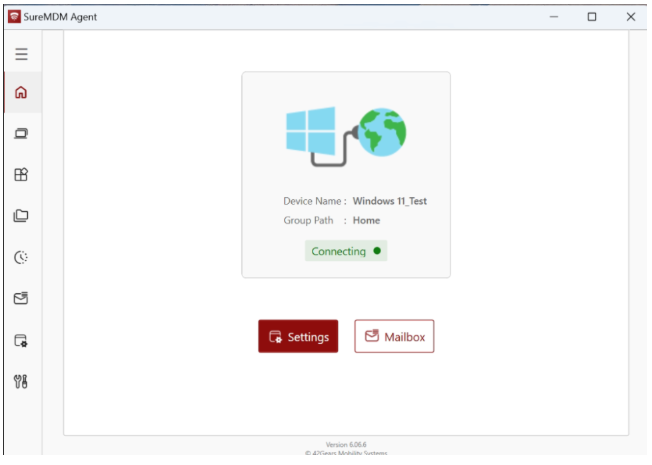
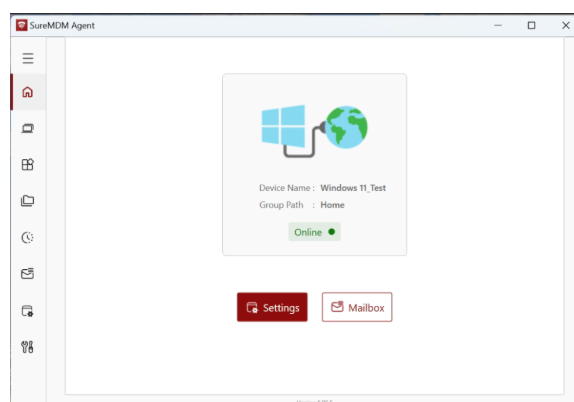
Once successfully configured:
- On the SureMDM Agent home screen, the device status will change to Online.
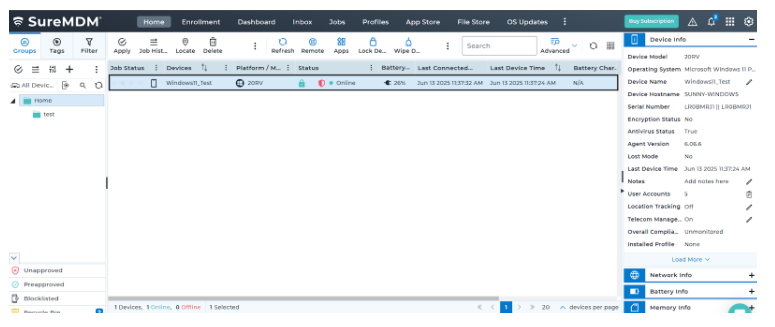
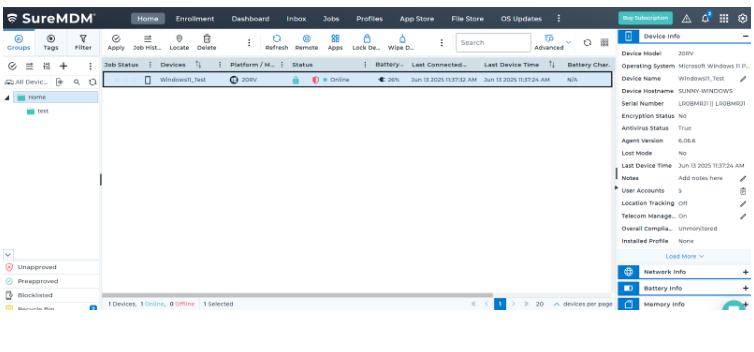
- On the SureMDM web console, the device will start reflecting under the Device Grid.
Now, admins have the ability to configure EMM within the SureMDM Agent so dual enrollment takes place automatically. This will help admins configure features under Jobs and Profiles in the SureMDM Web Console. Dual Enrollment is supported on Windows 10 and 11 devices.
Enroll Using Account ID
- To Enroll Using an Account ID, click Enroll Using Account ID.
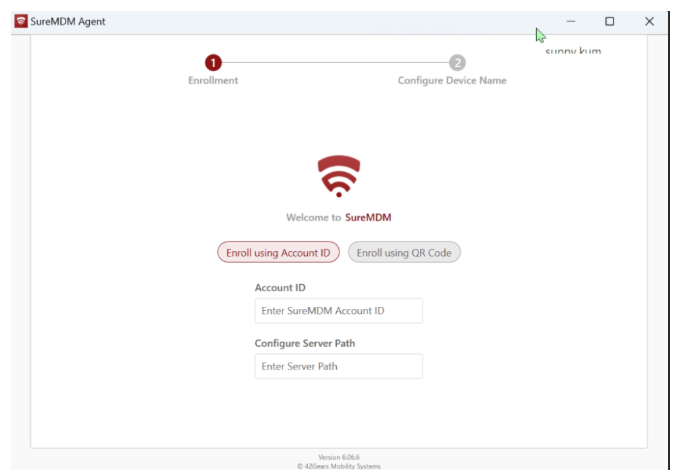
- Enter Account ID, Configure Server Path, and click Next.
The Account ID is the identification number of the SureMDM account. Account ID can be copied from the SureMDM Console, i.e., Navigate to Settings on the top right corner in the SureMDM console to get Account ID (Settings icon > Account ID).

Server Path is the console URL to which the devices will be enrolled. The format of the server path is account.in.suremdm.io.

- On the Configure Device Name screen, you can set the device name using one of the available options: Set the Device Name Manually, MAC Address, Device Hostname, Use System Generated BIOS Name, or Product Serial Number. For the manual option, you need to enter the device name yourself and then click Register. For the other options, the device name will be pre-populated based on the selected method, and you can simply click Register to complete the process.

- For example, select the Set Device Name Manually option, enter the Device Name, and click Register.
- Setup is complete. SureMDM Agent has been successfully installed on your computer.
Once successfully configured:
- On the SureMDM Agent home screen, the device status will change to Online.
- On the SureMDM web console, the device will start reflecting under the Device Grid.
The newer agents now automatically complete Dual Enrollment by adding the EMM account during the enrollment. As a result, administrators are no longer required to separately enforce EMM enrollment following agent-based deployments.
Dual Enrollment is supported on Windows 10 and 11 devices.