SCEP Configurations in Okta
Follow the below-mentioned steps to configure SCEP in Okta:
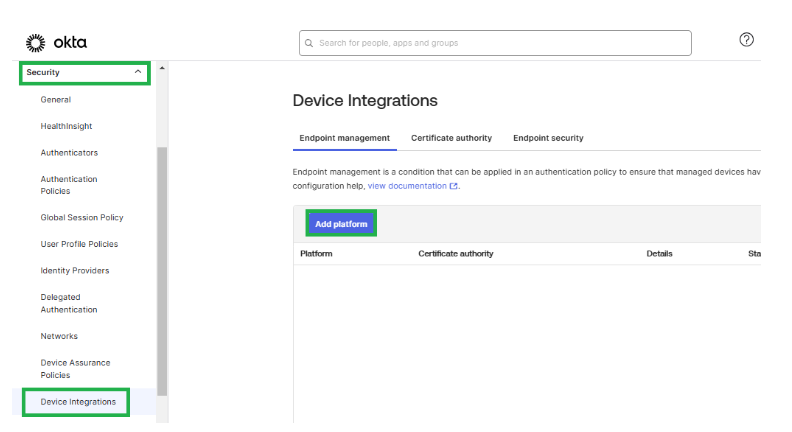
Log into the Okta portal with Admin credentials.
Navigate to the Security tab (Left-hand side panel) > tap on Device Integrations > tap on Add Platform under Endpoint Management (Middle panel)
- Further, under the Select Platform tab, tap the Desktop (Windows and macOS only) option. This option is to select the platform on which the certificate server will be hosted.
Select Next.
Under the Configure Management attestation tab, configure the below-mentioned settings.
i. Select Certificate Authority as Use Okta as certificate authority (Preferred option).
noteUsers can select the Use my own certificate authority option if they prefer to use their certificate authority.
ii. Select the SCEP URL challenge type as Static SCEP URL or Dynamic SCEP URL.
iii. Navigate to the SCEP URL and click Generate. Copy the SCEP URL, Secret Key/ Password, Challenge URL, and User Name (in case of dynamic URL) generated. ClickSave.
:::note The secret key/password now will only be visible once and will be stored as a hash for security purposes later. :::
Admin will now have details of SCEP URL, Secret Key/ Password, Challenge URL, and User Name that are needed to configure Certificate Management in SureMDM web console.