Using Scan QR Code
 Note: Scan QR code option supports only on Android version Nougat and later devices.
To enroll Android Enterprise on Dedicated Devices using scan QR code, follow these steps:
1. Navigate to Enrollment > List View > Create QR code.
2. On the Setup QR Code for Enrollment prompt,
a. Under Enrollment Type option,
1. Name the QR code.
2. Select Android platform.
3. Select enrollment type as Android Enterprise Enrollment.
Note: Android Enterprise Enrollment option is visible only when SureMDM is configured with Android Enterprise.
b. Click Next.
c. Under Configure Options, enter or select the required details:
- Select Group
- Select Device Name
- Use mobile data if available
- WiFi SSID
- Wi-Fi Password
- Wi-Fi Security Type
- WiFi Hidden - Use this option to connect to a hidden network
- WiFi EAP Method
- WiFi Identity
- WiFi Anonymous Identity
- WiFi Phase 2 Auth
- WiFi Domain
- WiFi Pac URL
- WiFi Proxy Host
- WiFi Proxy Port
- WiFi Proxy Bypass
Note: WiFi EAP Method, WiFi Identity, WiFi Anonymous Identity, WiFi Phase 2 Auth, and WiFi Domain options will only be available if the administrator selects WPA/WPA2-EAP as the WiFi Security type.
c. Select Provisioning Settings and configure the following settings:
- Skip Encryption - If device is not encrypted, you can skip encryption
- Skip SureMDM Agent Permission Checklist - Use this option to skip SureMDM Agent permission checklist
- Enable Deep Thought - Enable Deep Thought on the device(s)
Locale - Use this option to set the locale ( language and country) on the device.
- Language
- Country
d. Under Save QR code option, click Download/Print/Full View to download or print or full view the QR code.
e. Click Save.
Newly created QR code will be listed under the QR Code Enrollment section.
3. Unbox the new device and switch it on or factory reset and reboot an unboxed/used device.
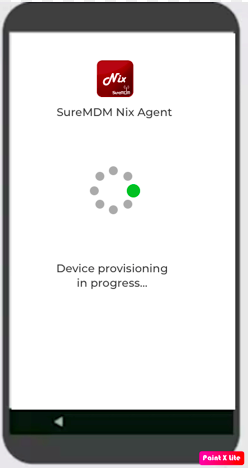
When a new device or factory reset device is powered on, the user should tap 6 times on language screen launch QR code reader and scan the QR code. Once the QR code is read, the device will be enrolled to SureMDM console and the default Android Enterprise profile will be applied to the device. The following screen appears before the profile gets applied to the device.
Note: When the device provisioning fails during the enrollment process, the following screen appears on the device.
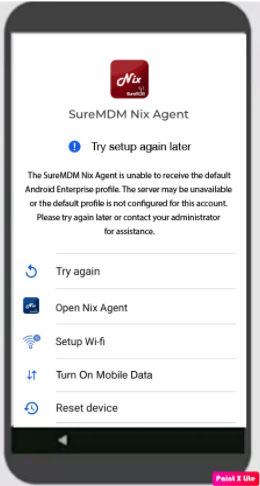
The user can perform following actions:
- Try Again - Use this option to re-initiate the request to get the default job from SureMDM console.
- Open SureMDM Agent Agent Settings - Use this option to open the SureMDM Agent Settings screen.
- Setup WiFi - Use this option to open the Wi-Fi Settings screen.
- Turn On Mobile Data - Use this option to open Settings > Network and Internet screen on the device. This option should be available only when a SIM card is available on the device.
- Reset Device - Use this option to factory reset the device.