Enrollment Using SureMDM Agent
Supported Versions
- iOS 9 Onwards
- iPadOS 13 Onwards
To enroll an iOS/iPadOS device in SureMDM, follow these steps:
1. Download and install SureMDM Agent for iOS/iPadOS from the App Store using this link.
![]() Note: During the installation of SureMDM Agent, there would be a Terms & Conditions page in which the user should provide consent for the application.
Note: During the installation of SureMDM Agent, there would be a Terms & Conditions page in which the user should provide consent for the application.

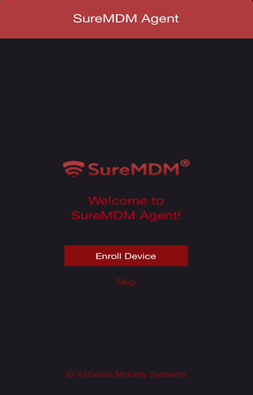
2. Once installed, launch the SureMDM Agent app.
3. On the SureMDM Agent Welcome screen, tap Enroll Device.
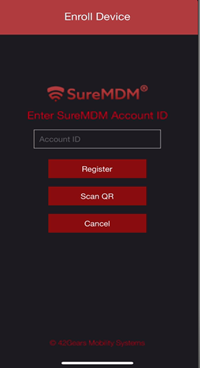
4. On the Enroll Device screen, select from the following two options:
Option 1: Manual Registration
- Register – Enter the Account ID and tap Register to register manually.
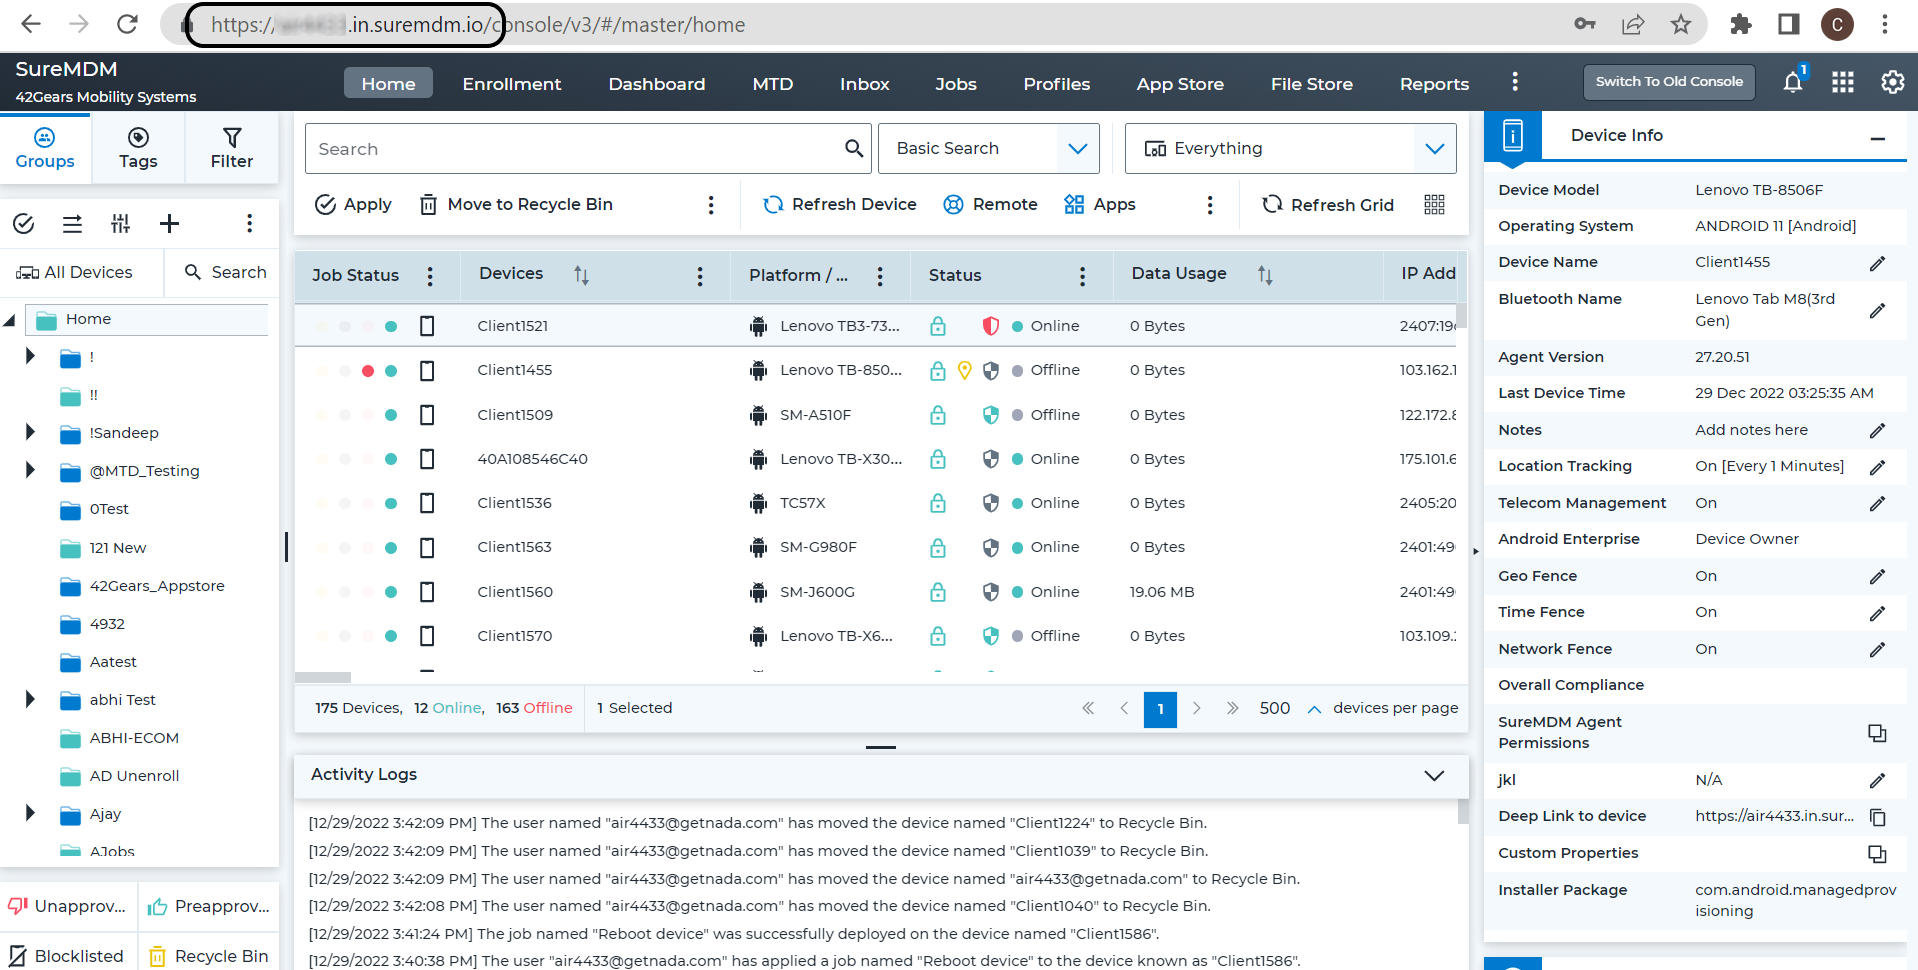
![]() Note: Navigate to Settings on the top right corner in the SureMDM console to get the Account ID.
Note: Navigate to Settings on the top right corner in the SureMDM console to get the Account ID.
- The next screen displays the Server Path field, enter the Server Path.
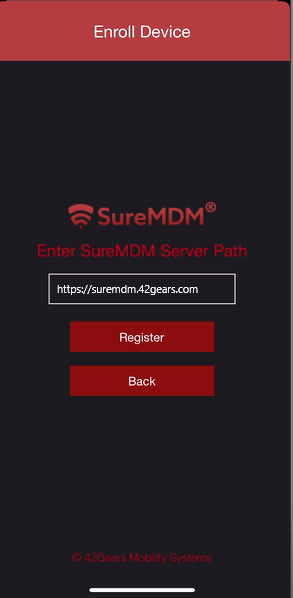
![]() Note: The server path can be copied from the SureMDM URL.
Note: The server path can be copied from the SureMDM URL.
Option 2: Registration via QR Code Scanning
- Scan QR – Use this option if you are already logged into the SureMDM Web Console.
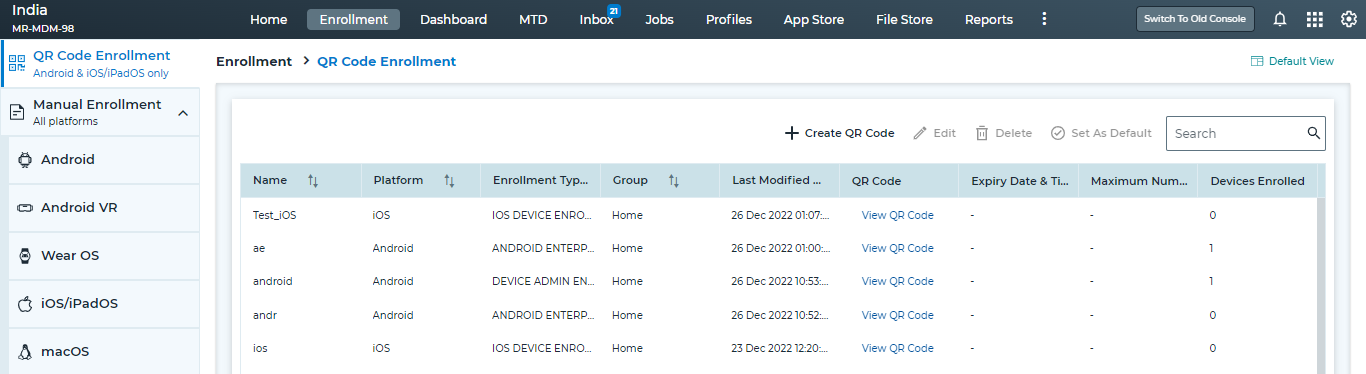
- On the SureMDM Web Console, navigate to the QR Code Enrollment option from the Enrollment menu.
- Click List View and then select Create QR Code option for enrollment.
You must complete the following three steps after selecting the Create QR Code option:
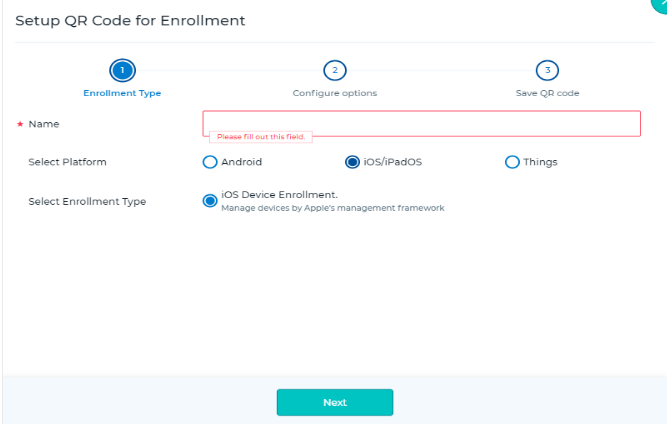
(i) Enrollment Type - In this screen, provide the following information:
- Name - The name of the device should be provided (for which the enrollment is about to be done).
- Select Platform - The platform should be selected as iOS/iPadOS, and then click Next.
(ii) Configure Options - In this screen, select the desired group in which the device should be mapped, and then click Next.

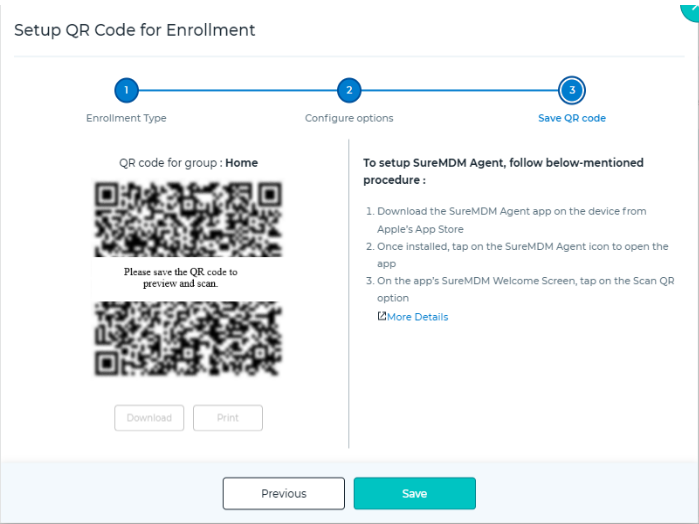
(iii) Save QR Code - Now the QR Code has been created.
- Click Save.
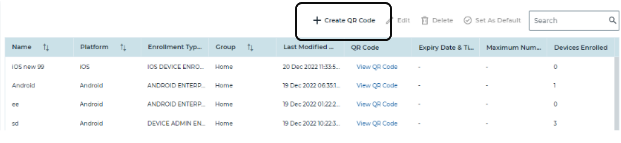
- After Saving the QR Code for the specified device, it would be listed in the QR Enrollment listing page from where it can be accessed.
- Click View QR Code against the created device and scan the QR Code using the device.
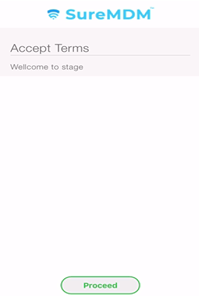
5. After clicking the Register option and providing the Server Path (using Option 1) or Scanning the QR Code (using Option 2), the following Accept Terms screen appears where consent should be provided, and then click Proceed:
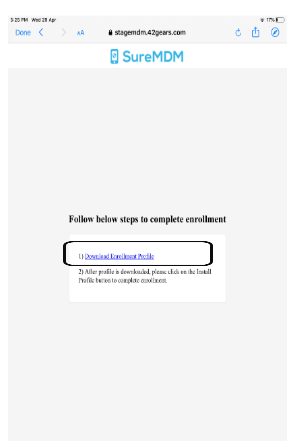
6. Tap Download Enrollment Profile.
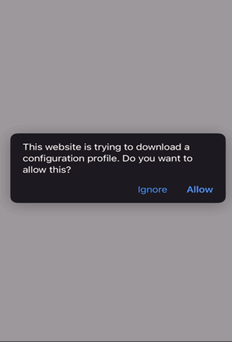
7. After clicking Download the Enrollment Profile, you will be prompted to provide consent for the download. Click Allow.
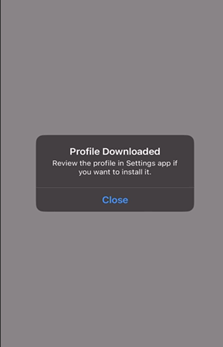
8. The profile gets downloaded. Click Close.
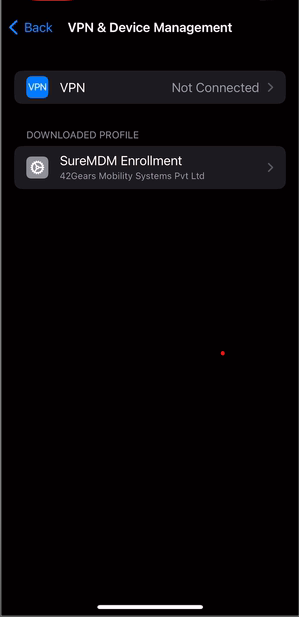
9. Once the profile is downloaded, navigate to the device’s Settings > General > VPN & Device Management. Click SureMDM Enrollment Profile.
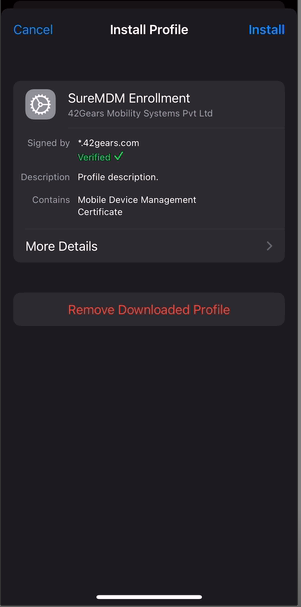
10. On the Install Profile screen, tap Install.
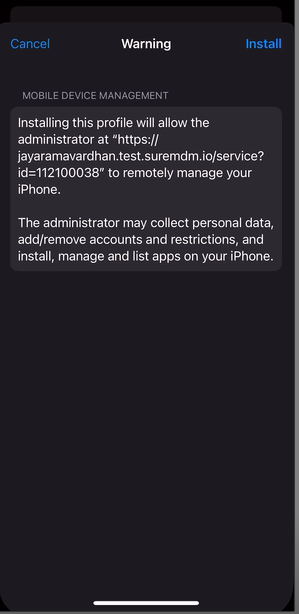
11. After clicking on Install, you will be prompted to provide consent for the installation. Click Install.
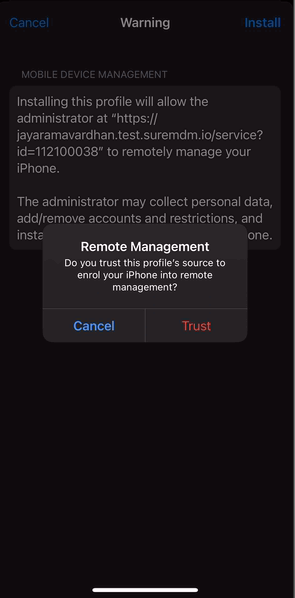
12. In the Remote Management popup, click Trust, then the profile gets installed.
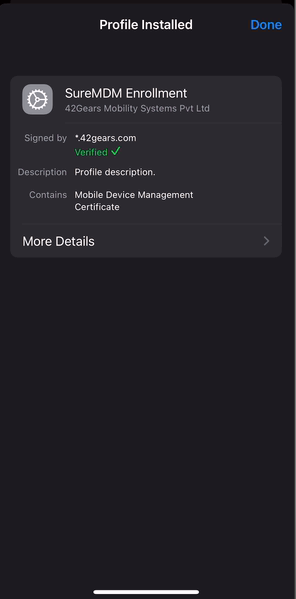
13. Once the profile is installed, tap Done.
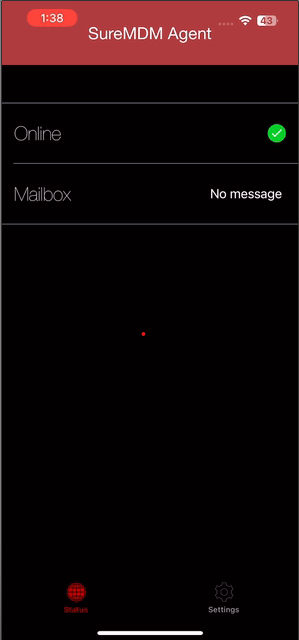
14. You will know the device has been enrolled in SureMDM when:
- On the SureMDM Agent Home Screen, the device status changes to Online.
- On the SureMDM Web Console, the device appears under the Device Grid.
