Setup Azure AD in AstroContacts Web Console
To setup Azure AD configuration in AstroContacts Web Console, follow these steps:
1. Login into AstroContacts Web Console.
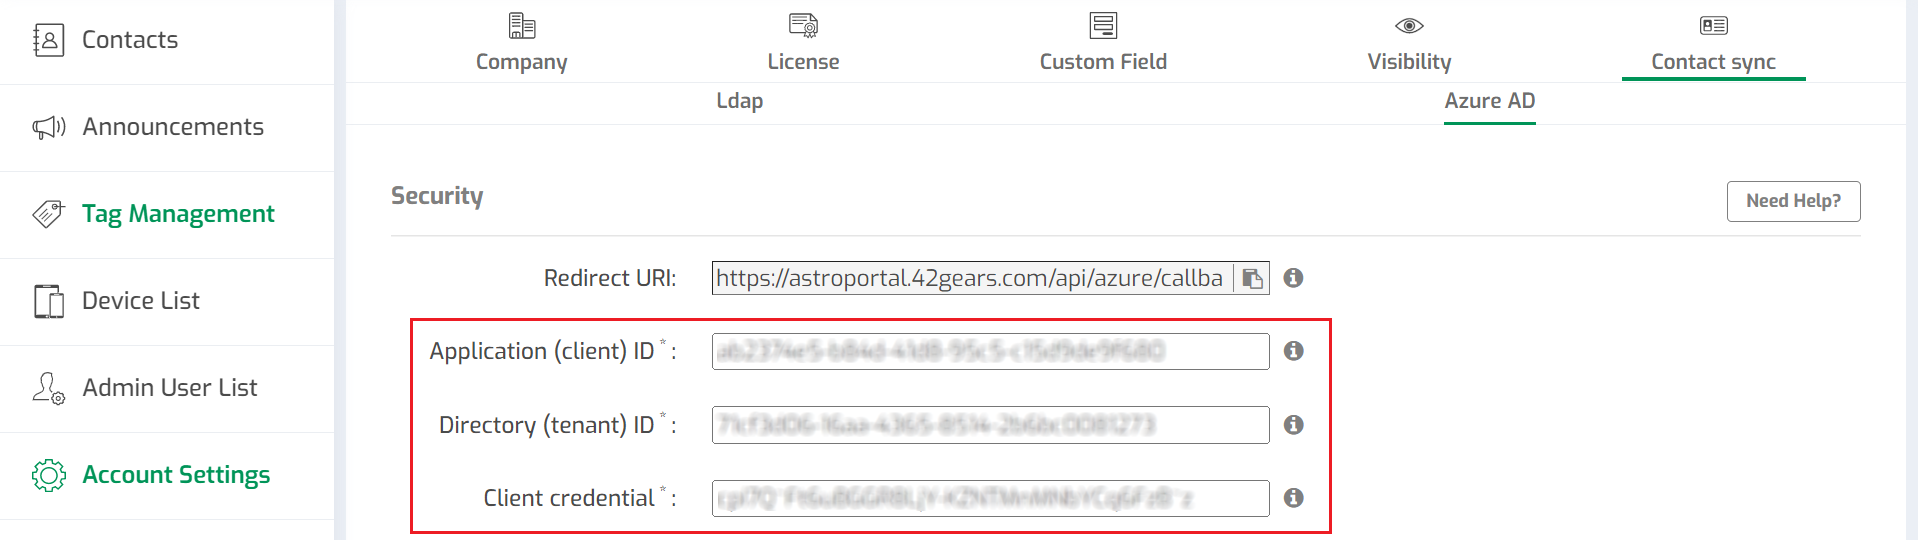
2. Click on Account Settings > Contact sync > Azure AD.
3. Please enter the following details in the appropriate fields.
- Application (client) ID
- Directory (tenant) ID
- Client credential
 Note: For more information about Application (client) ID,Directory (tenant) ID, and Client credential, check out this Knowledge Base Article.
4. Configure the following settings and click on Save And Authorize.
- AutoSync Enable – Turn-On this option to periodically copy all the existing contact modifications from Azure AD server to the AstroContacts Web Console every 6 hours.
- Auto add Azure AD contacts – Once enabled, the newly added contacts will be automatically synced to the AstroContacts Web Console depending upon the number of licenses available for the account.
This will redirect to the Microsoft consent page and admin can login using the Azure AD credentials.
5. Click on Test Connection to confirm the authentication.
6. Click Save to save the Azure AD configuration.